
Are you tired of having to stop mid-trail to manually adjust your seat height on your mountain bike? The good news is, you can say goodbye to that hassle by investing in a dropper seatpost. This handy bike component allows you to adjust your seat height on the fly, so you can focus on the ride ahead.
Now, you might be wondering, how exactly do you adjust a dropper seatpost? Well, fret not. In this article, we’ll walk you through the step-by-step process of getting your dropper seatpost set up just right.
Whether you’re a seasoned rider looking to upgrade your bike or a newbie wanting to learn the ropes, this guide will have you confidently adjusting your dropper seatpost like a pro. So, let’s dive in and discover how to adjust a dropper seatpost!
Adjust Dropper Seatpost: Easy Guide For Perfect Fit
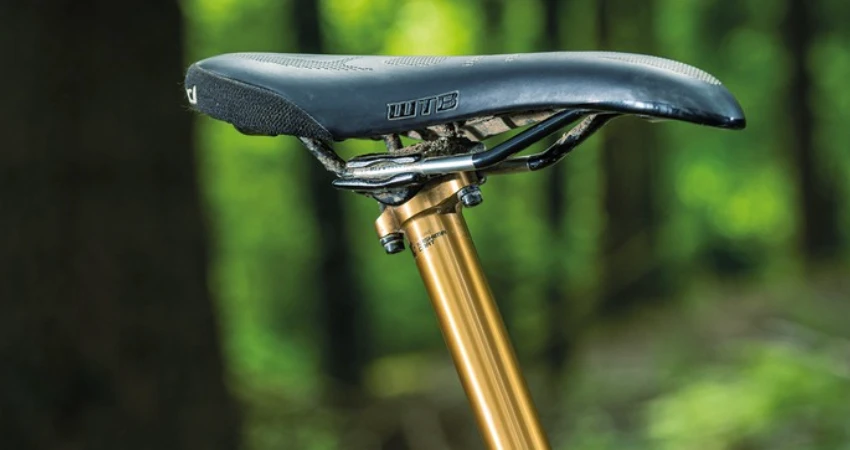
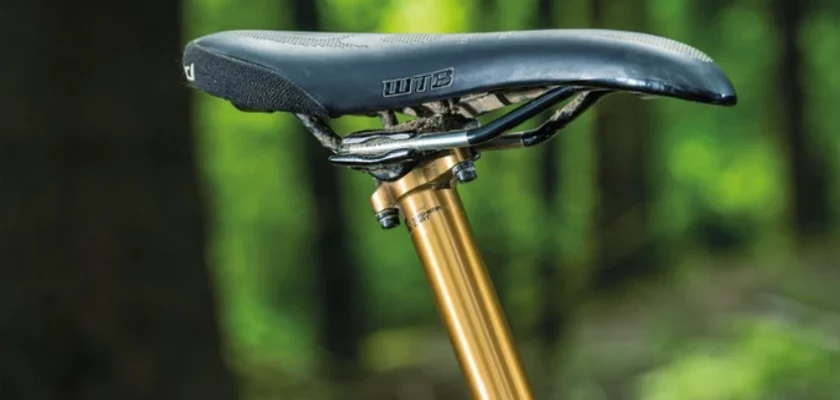
Riding a mountain bike can be an exhilarating experience, but it’s crucial to have the right setup for a comfortable and efficient ride. One important component that can greatly enhance your performance on the trails is a dropper Seatpost.
A dropper seatpost allows you to quickly adjust your saddle height while riding, providing you with optimal positioning for different terrains.
Step 1: Determine the Correct Saddle Height
Before adjusting your dropper seatpost, it’s essential to determine the correct saddle height for your body. Here’s how you can do it:
- Stand next to your bike with your feet flat on the ground.
- Lift the rear wheel off the ground so that the bike is level.
- Adjust the saddle height so that it aligns with your hip bone.
- Sit on the saddle and pedal backward to ensure a full leg extension with a slight bend in your knee.
Remember to consider your riding style and terrain preferences when adjusting the saddle height. If you mostly ride on technical trails, you may want to lower the saddle a bit for better maneuverability.
Step 2: Familiarize Yourself with Your Dropper Seatpost
Dropper seatposts come in different designs and models, so it’s essential to familiarize yourself with the specific features and adjustments of your seatpost. Refer to the manufacturer’s manual or website for detailed information and specifications. Make note of the following key components:
- Remote lever: The lever mounted on your handlebars to control the seatpost’s movement.
- Air pressure: Some dropper seatposts have an air spring that can be adjusted to customize the return speed of the post.
- Cable tension: The tension of the cable connecting the remote lever to the seatpost.
- Collar bolt: The bolt that secures the seatpost in the frame. This may need adjustment if the seatpost is slipping or not holding its position.
Step 3: Adjusting the Height and Return Speed
Once you’re familiar with your dropper seatpost, you can proceed with adjusting the height and return speed to suit your preferences. Follow these steps:
- Determine the desired saddle height for climbing and descending. Consider different riding conditions and adjust the saddle height accordingly.
- Using the remote lever, lower the saddle to the desired height for descending.
- Test the saddle height by riding on various terrains, making sure it feels comfortable and allows you to maintain control.
- Adjust the return speed of the seatpost if necessary. Some seatposts have an air pressure valve that can be adjusted to control the speed of the return. Experiment with different settings until you find the one that feels most comfortable and responsive.
Step 4: Troubleshooting Common Issues
Adjusting a dropper seatpost may come with a few challenges. Here are some common issues and their solutions:
- Seatpost slipping: If your seatpost slips down when you’re riding, the collar bolt may need tightening. Use a torque wrench to tighten it to the manufacturer’s recommended torque specifications.
- Slow or sluggish return: If your seatpost is slow to return or feels sluggish, you may need to increase the air pressure. Refer to the manufacturer’s manual for the recommended air pressure range and use a shock pump to make the necessary adjustments.
- Cable tension problems: If the dropper seatpost doesn’t move smoothly or feels stiff, the cable tension may need adjustment. Loosen the cable fixing bolt at the seatpost and pull the cable tight. Retighten the bolt securely.
Remember to consult the manufacturer’s manual for specific troubleshooting instructions related to your dropper seatpost model.
Step 5: Regular Maintenance
Like any other bike component, a dropper seatpost requires regular maintenance to ensure optimal performance and longevity. Here are a few maintenance tips:
- Clean your seatpost regularly to prevent dirt and debris from affecting its function. Use a soft cloth and mild detergent to wipe down the exposed parts.
- Lubricate the seatpost stanchion with a silicone-based lubricant to keep it running smoothly. Avoid using oil-based lubricants as they can attract dirt and cause damage.
- Check the collar bolt regularly to ensure it’s tightened to the recommended torque. If it comes loose frequently, apply a thread-locking compound to the bolt before tightening.
- Inspect the cable for signs of fraying or wear. Replace the cable if necessary, following the manufacturer’s recommendations.
Remember to consult the manufacturer’s manual for specific maintenance guidelines and recommended intervals.
Enjoy the Ride!
Congratulations! You’ve successfully adjusted your dropper seatpost to suit your riding style and preferences. Now it’s time to hit the trails and enjoy the benefits of a well-adjusted seatpost.
Remember to periodically check the seatpost’s performance and make any necessary adjustments or maintenance to ensure a smooth and comfortable ride. Happy trails!
Frequently Asked Questions
1. How do I determine the correct seatpost height for optimum performance?
To find your ideal seatpost height, start by setting it at a height that allows a slight bend in your knee when the pedal is at its lowest point. Fine-tune the height based on your comfort and riding style.
2. What should I do if my dropper seatpost becomes stuck in a particular position?
If your dropper seatpost gets stuck, first check if any dirt or debris is blocking its movement. Clean the area and apply a lubricant if needed. If this doesn’t solve the issue, it’s best to consult a professional bike mechanic.
3. How can I adjust the seatpost’s return speed?
To adjust the return speed of your dropper seatpost, locate the air valve underneath the seat. Using a shock pump, add air to increase the return speed or release air to slow it down. Experiment with small increments until you find your desired speed.
4. When should I service my dropper seatpost?
Regular maintenance is essential to ensure a smooth operation of your dropper seatpost. It’s recommended to service it at least once a year or if you notice any signs of decreased performance, such as slow return or excessive play.
5. Is there anything I need to be cautious about when adjusting my dropper seatpost?
When adjusting your dropper seatpost, make sure to always follow the manufacturer’s instructions. Avoid overtightening any bolts, as this can cause damage. Take extra care especially with carbon seatposts, as they can be more delicate and prone to cracking.
Final Thoughts
In conclusion, mastering the art of adjusting a dropper seatpost is essential for any cyclist. By following a few simple steps, you can greatly enhance your riding experience and maximize your performance on the trails.
Remember to start by identifying the correct saddle height for both climbing and descending and then familiarize yourself with the various adjustment mechanisms on your specific dropper seatpost.
Take the time to practice these adjustments during your rides, keeping in mind that trial and error may be necessary to find the perfect setting for your comfort and control. By properly adjusting and utilizing your dropper seatpost, you can conquer any terrain with ease and confidence, enjoying a smoother ride like never before.