
Mountain bikers like tubeless tires because they have better grip, have less chance of getting flats, and can run at lower pressures. But there’s a different way to pump up tubeless tires than for tires with inner tubes. This writing will show you step-by-step how to inflate the tire on a mountain bike that doesn’t have a tube.
How Does It Differ From Inflating A Traditional Tire?
You must face some differences between a regular tire and a tubeless one. I guess you know them already. If you already have an idea about this, you can skip this part.
Inflating a tubeless tire on a mountain bike differs from inflating a traditional tire with an inner tube in a few key ways:
No Inner Tube: The most significant difference is that tubeless tires do not require an inner tube to hold the air. Instead, the tire forms an airtight seal against the rim, eliminating the need for a separate tube.
This design reduces the risk of pinch flats and allows for lower tire pressures, enhancing traction and performance.
Tire Sealant: Tubeless systems use tire sealant to maintain an airtight seal and seal punctures on the go. The glue is added to the tire before inflation and helps seal any small holes or cuts that may occur while riding. It’s essential to check and replenish the sealant to ensure its effectiveness regularly.
Bead Seating: Proper bead seating is crucial for tubeless tires. When inflating a tubeless tire, it may be necessary to use an air compressor or a high-volume floor pump to generate a sudden burst of air to help seat the tire bead onto the rim.
This ensures an airtight seal. Some tubeless setups may require a tubeless-specific inflation device like a tubeless inflator or an air compressor with a burst tank.
Initial Inflation and Burping: Inflating a tubeless tire can sometimes be more challenging than inflating a traditional tire. Seating the tire bead properly requires a quick and forceful burst of air.
If the bead doesn’t sit correctly, it may “burp” or lose air when riding over rough terrain. In such cases, deflating and reseating the bead or adding more sealant may be necessary.
Tire Pressure: Tubeless tires generally allow lower pressure than traditional tires. The absence of an inner tube reduces the pinch flats risk so riders can run lower pressures for increased traction, comfort, and better control over rough terrain. It would be best to be careful between grip and avoiding rim damage.
Must-Have Tools
When inflating tubeless tires, you must have a few essential tools and some optional tools that can make the process easier. Here’s a breakdown:
Floor Pump or Air Compressor: A reliable floor pump or an air compressor with a gauge is crucial for inflating tubeless tires. Ensure the pump or compressor delivers enough pressure to seat the tire beads onto the rim properly.
Tubeless Sealant: Tubeless sealant is a must-have for tubeless setups. It helps to seal punctures and small leaks, preventing air loss. Ensure you have the appropriate amount of sealant for your tire size, and refill it periodically according to the manufacturer’s recommendations.
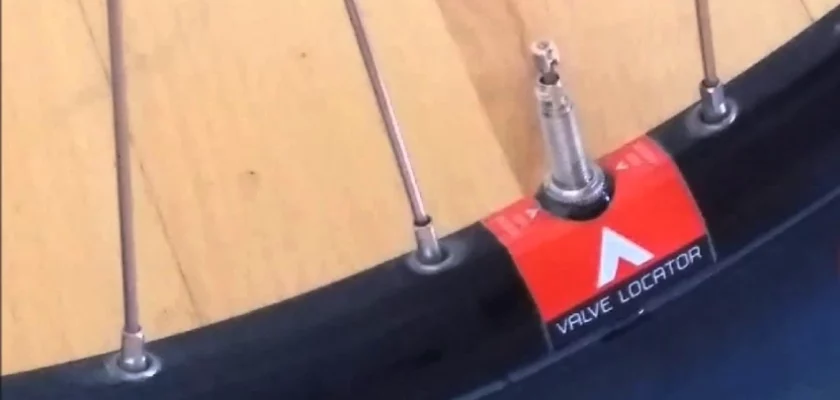
Tubeless Valve: Tubeless valves are specifically designed for tubeless rims. They have a removable core and a longer length to accommodate the deeper profile of the rim. Ensure you have a compatible tubeless valve installed on your rim.
Optional Tools
Bead Blaster or Air Compressor Tank: Sitting tubeless tire beads can sometimes be challenging. A bead blaster or an air compressor tank can provide a sudden burst of high-pressure air, making it easier to seat the tire beads onto the rim. While not essential, they can be helpful for stubborn tires.
Tire Bead Jack: A tire bead jack is a specialized tool that assists in seating stubborn tire beads onto the rim. It provides mechanical leverage to push the tire bead into place. It can be beneficial for tight-fitting tires or rims that require extra force.
Tire Levers: Although not specifically for inflating tubeless tires, tire levers can come in handy during the initial installation or removal of the tire. They help to remove the tire from the rim, allowing access to the rim tape or valve.
Presta Valve Core Tool: If you have Presta valves on your tubeless setup, a Presta valve core tool can be helpful. It lets you easily remove the valve core to inject sealant or add extra air.
How To Inflate A Tubeless Tire Mountain Bike
Here is a step-by-step process to inflate tubeless tires using the mentioned tools:
Prepare the Tire
- Ensure that your tubeless tire is mounted correctly on the rim. Make sure the bead is evenly seated around the rim.
Install the Tubeless Valve
- If you haven’t already, install a tubeless valve into the valve hole on the rim. Ensure the valve is tightened securely.
Add Sealant
- Remove the valve core using a Presta valve core tool (if applicable) to allow easy sealant injection. Shake the sealant bottle well to mix the contents.
- Using the appropriate dosage recommended by the sealant manufacturer, inject the sealant into the tire through the valve. This can be done using a sealant injector or removing the valve core and pouring the sealant directly into the tire.
- Reinstall the valve core and tighten it securely.
Inflate the Tire
- Attach your floor pump or air compressor to the tubeless valve.
- If using an air compressor, set the pressure to the recommended level for seating tubeless tires (typically higher than your normal riding pressure).
- Begin pumping or releasing air into the tire. Monitor the pressure using the gauge on your pump or compressor.
- It may require a sudden burst of air or a higher initial pressure to seat the tire beads onto the rim. If the tire doesn’t install with a standard pump, you can use a bead blaster or an air compressor tank to provide a more forceful burst of air.
- You may hear a distinct “pop” or “snap” sound as the tire inflates and the beads seat onto the rim. This indicates that the tire is installed correctly.
Check Pressure and Adjust
- Once the tire beads are seated, reduce the pressure to your desired riding level. Refer to the tire manufacturer’s recommendations for the appropriate pressure range.
- Use a pressure gauge to ensure accurate measurement and adjust as needed.
- If you notice any sealant leaking from the tire, rotate and shake the wheel to distribute the sealant evenly and encourage sealing.
Reinstall the Wheel
- After inflating and adjusting the tire pressure, reinstall the wheel on your bike, ensuring it is properly aligned and secured.
Remember to periodically check the tire pressure and refill the sealant to maintain optimal performance. If you encounter any issues or persistent air leaks, consult a professional or refer to the tire and sealant manufacturer’s instructions for troubleshooting guidance.
Final Words
Any severe rider must know how to pump up a tubeless tire on a mountain bike. Mountain bikes with tubeless tires have changed off-road riding by making it easier to get a grip, less likely to get a hole, and easier to move forward.
The tubeless setup doesn’t need an inner tube, so riders can run their tires at lower pressures without worrying about pinch flats.
This means you’ll have better control and more confidence when going down rocky descents or on challenging trails. The lack of a tube also lowers the weight of the bike’s moving parts, making the bike faster and easier to turn.