
Are you ready to take your BMX riding to the next level? Installing forks on your BMX bike can greatly enhance its performance and allow you to tackle more challenging tricks and jumps. If you’re wondering how to install forks on a BMX, you’ve come to the right place.
In this blog article, we will guide you through the process of installing forks on your BMX bike, step by step. Whether you’re a seasoned rider or just starting out, this tutorial will provide you with all the information you need to successfully upgrade your bike and elevate your riding experience. So, let’s dive right in and learn how to install forks on a BMX!
Installing Forks On A Bmx: Step-By-Step Guide
So, you’ve decided to upgrade your BMX bike with a new set of forks. Whether you’re a seasoned rider or just starting out, installing forks on a BMX bike is a crucial skill to learn.
Gather the Tools and Materials
Before you get started, it’s essential to gather all the necessary tools and materials. Here’s what you’ll need:
1. New forks: Make sure to choose forks that are compatible with your BMX bike, considering factors such as the steerer tube diameter and axle size.
2. Allen wrench set or socket wrench: You’ll need the appropriate size tool to remove and replace the bolts holding the old forks in place.
3. Bicycle grease: Applying a thin layer of grease on the steerer tube and bearings will prevent corrosion and ensure smooth movement.
4. Torque wrench: This tool will help you tighten the bolts to the manufacturer’s recommended specifications, preventing over or under tightening.
5. Rubber mallet or soft-faced hammer: You may need these to gently tap the new forks into place if they are a tight fit.
With these tools and materials ready, you’re now prepared to start installing the forks on your BMX bike.
Remove the Old Forks
Before you can install the new forks, you’ll need to remove the old ones. Follow these steps:
1. Begin by flipping your BMX bike upside down, resting it securely on its handlebars and seat.
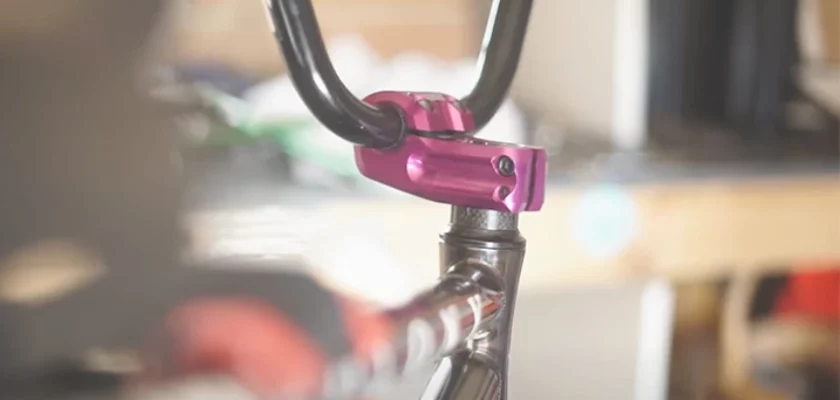
2. Locate the bolts securing the stem to the steerer tube. Depending on your bike’s setup, you may need to remove the stem completely or just loosen the bolts enough to slide it off the steerer tube.
3. Once the stem is out of the way, remove the dust cap if there is one, and use the appropriate wrench to loosen and remove the bolts holding the forks in place. Generally, there will be two bolts on each side of the stem.
4. With the bolts removed, gently slide the old forks out of the headset and remove them from your BMX bike.
Prepare the New Forks
Now that the old forks are out, it’s time to prepare the new forks for installation. Follow these steps:
1. Apply a thin layer of bicycle grease to the steerer tube. This will help prevent corrosion and ensure smooth movement.
2. If your new forks have a built-in star nut, skip to the next step. Otherwise, if your BMX bike’s headset utilizes a star nut, now is the time to install it. Insert the star nut into the steerer tube, ensuring it sits flush with the top.
3. Before inserting the new forks into the headset, check if any bearing races need to be transferred from the old forks. If so, use a suitable tool to carefully remove them and install them onto the new forks.
Install the New Forks
With the new forks prepared, it’s time to install them on your BMX bike. Follow these steps:
1. Hold the new forks by the steerer tube and gently insert them into the headset, aligning them with the bearings.
2. If the forks are a tight fit, you can use a rubber mallet or a soft-faced hammer to tap them into place. Be careful not to damage the forks or headset during this process.
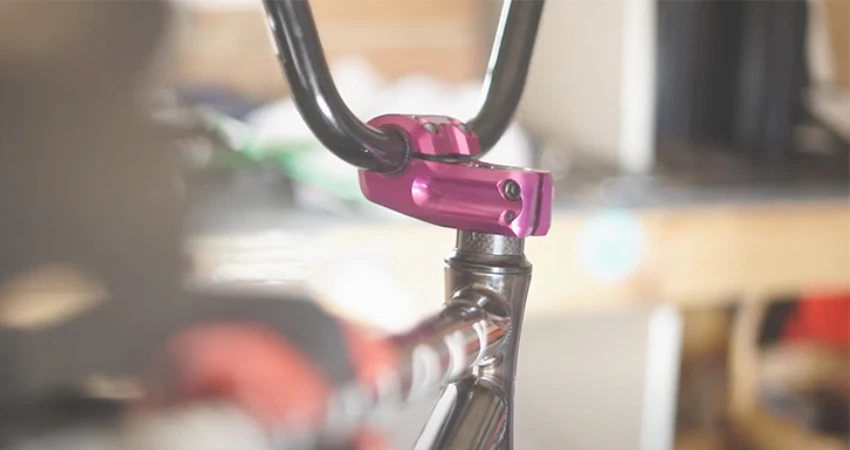
3. Once the forks are fully inserted, ensure they are centered and aligned. Double-check that the top of the steerer tube is parallel with the ground when the handlebars are straight.
4. Reinstall the bolts that secure the forks to the stem, tightening them to the manufacturer’s recommended specifications. Using a torque wrench is highly recommended to avoid over or under tightening.
5. Finally, reinstall the stem onto the steerer tube, making sure it is aligned with the front wheel. Tighten the stem bolts securely, again following the manufacturer’s specifications.
Congratulations! You have successfully installed the new forks on your BMX bike. Take a moment to visually inspect the installation, making sure everything is secure and properly aligned.
Test and Adjust
Now that the new forks are installed, it’s important to test and make any necessary adjustments. Follow these steps:
1. Stand in front of your BMX bike and apply the front brake. Rock the bike back and forth, checking for any play or unusual movement in the headset.
2. If you detect any looseness or play, you may need to adjust the headset tension. Consult your bike’s manual or seek guidance from a professional to ensure proper adjustment.
3. Once you are satisfied with the headset tension, take your bike for a test ride. Pay attention to how the bike handles, especially during turns and jumps. If you notice any issues, such as excessive vibration or wobbling, double-check the installation and seek professional assistance if needed.
Remember, proper installation of forks is crucial for your safety and the overall performance of your BMX bike. If you are unsure about any step or encounter difficulties during the installation process, do not hesitate to seek help from a knowledgeable bike mechanic or experienced rider.
Now that you’ve successfully installed your new forks, it’s time to hit the ramps, trails, or streets and enjoy the enhanced ride and control that they bring to your BMX bike! Happy riding!
Frequently Asked Questions
1. Can I install BMX forks on my bike by myself?
Yes, you can install BMX forks on your bike by following the steps mentioned in the article. However, if you’re unsure or uncomfortable with the process, it’s recommended to seek assistance from a professional bike mechanic.
2. What tools will I need to install BMX forks?
To install BMX forks, you will typically need a socket wrench, hex wrenches, a crown race setter, a fork compression cap, and a bike stand. Make sure to have these tools on hand before starting the installation process.
3. How do I remove the old forks from my BMX bike?
To remove the old forks from your BMX bike, you’ll need to loosen and remove the stem bolts, detach the front brake, loosen the compression cap, and finally remove the front wheel. The detailed steps can be found in the article for a more comprehensive guide.
4. How do I properly align the new forks on my BMX bike?
Once you have inserted the new forks into the bike frame, make sure they are aligned properly. This can be done by aligning the stem with the forks, adjusting the compression cap, and tightening the stem bolts evenly on both sides.
5. Are there any precautions I should take when installing BMX forks?
When installing BMX forks, be cautious not to overtighten any bolts, as this may damage the forks or the bike frame. Additionally, double-check the alignment before tightening everything to ensure your bike is safe to ride.
Final Thoughts
In conclusion, installing forks on a BMX is a straightforward process that can greatly enhance the performance and control of your bike. By following the steps outlined in this article, you can ensure a safe and effective installation.
Remember to gather the necessary tools and materials, carefully remove the existing forks, and properly align and tighten the new forks. With some patience and careful attention to detail, you’ll be able to enjoy the benefits of upgraded forks on your BMX. So why wait? Get ready to take your riding experience to the next level by learning how to install forks on a BMX.