
Do you find yourself struggling with your bike chain constantly falling off? It can be incredibly frustrating, especially during a ride when you just want to enjoy the journey. But fear not, because today I have a solution for you: how to make a chain guide.
A chain guide is a simple yet effective device that keeps your chain in place, preventing it from jumping off the sprockets. And the best part? You can make one yourself with just a few tools and materials.
So if you’re tired of dealing with chain derailments, keep reading to discover the step-by-step process of creating your very own chain guide. It’s time to put an end to those unexpected chain mishaps and enjoy a smoother ride every time you hop on your bike.
Diy: Make A Chain Guide
A chain guide is a device that helps keep the bike chain in place, preventing it from falling off and causing potential accidents or damage.
Why Make Your Own Chain Guide?
While chain guides are readily available for purchase, making your own chain guide offers several advantages:
- Cost: Making your own chain guide can be significantly cheaper than buying a commercially available one.
- Customization: By making your own chain guide, you can design it to fit your bike’s specific needs and specifications.
- DIY Experience: Building your own chain guide is a great opportunity to enhance your DIY skills and knowledge.
Gathering the Materials
Before you start making your chain guide, gather the necessary materials. Here’s what you will need:
- Chain guide bash guard: You can purchase a chain guide bash guard online or salvage one from an old bike.
- Mounting plate: A thick piece of metal or sturdy plastic for attaching the chain guide to your bike’s frame.
- Screws, bolts, and washers: Choose the appropriate size for securing the chain guide and mounting plate to your bike.
- Measuring tape or ruler: To ensure accurate measurements during the assembly process.
- Drill or rotary tool: Required for making holes in the mounting plate.
- Screwdriver or wrench: Essential tools for tightening screws, bolts, and washers.
Building Your Chain Guide
Now that you have gathered all the necessary materials, it’s time to start building your chain guide. Follow these steps to create your customized chain guide:
1. Measure your bike: Start by measuring your bike’s frame diameter and seat tube outer diameter. These measurements will determine the size of the mounting plate and the space available for your chain guide. Use the measuring tape or ruler to get accurate measurements.
2. Cutting the mounting plate: Using the measurements you took in the previous step, cut the mounting plate to the appropriate size. Make sure to round the corners to prevent any sharp edges that may cause injury.
3. Marking and drilling holes: Place the chain guide bash guard on the mounting plate and mark its placement. Then, mark the positions for the screw holes that will attach the bash guard to the mounting plate.
Use a drill or rotary tool to make the holes according to the marked positions. Ensure the holes are big enough for the screws to go through but not too large to compromise the integrity of the mounting plate.
4. Attaching the chain guide bash guard: Align the chain guide bash guard with the holes you made in the mounting plate. Secure the bash guard to the plate using screws, bolts, and washers. Make sure the connection is tight to avoid any movement during riding.
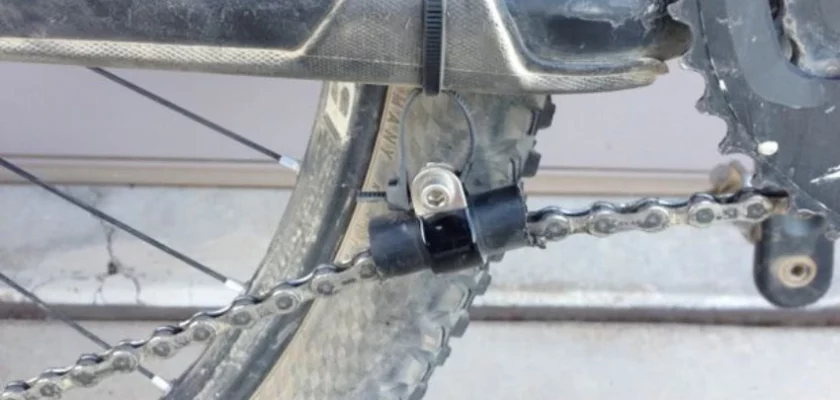
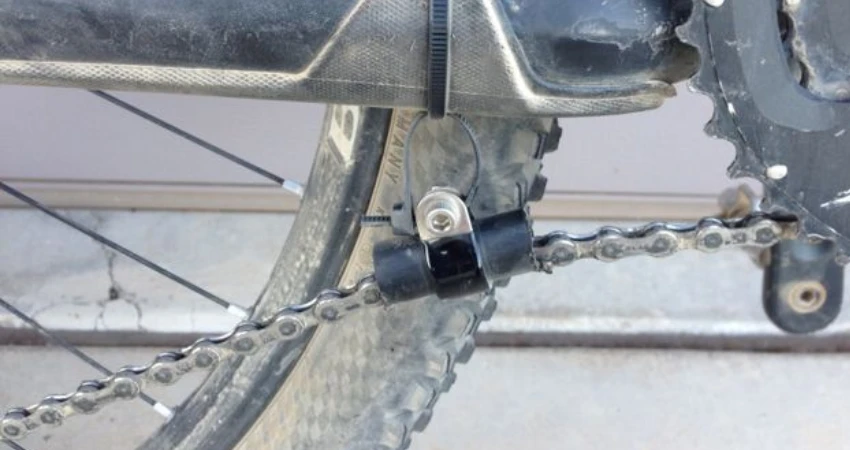
5. Mounting the chain guide: Position the chain guide on your bike’s frame, near the chainring area. Attach the mounting plate to the frame using screws or bolts and washers. Ensure a secure fit to prevent the chain guide from shifting during rides.
Final Adjustments and Testing
After installing your homemade chain guide, it’s crucial to make some final adjustments and test its functionality before hitting the trails. Follow these steps to ensure proper performance:
1. Chainline alignment: Check if the chain guide aligns properly with the chainline. Adjust the mounting plate if necessary to ensure the chain doesn’t rub against the chain guide when cycling.
2. Chain tension: Examine the chain tension. A well-adjusted chain should have enough tension to avoid derailing, but not too tight that it restricts smooth pedaling.
3. Test the chain guide: Take your bike for a short test ride on different terrains, including hills and rough paths. Observe if the chain guide effectively keeps the chain in place and prevents any unwanted chain drops.
4. Fine-tuning: If you encounter any issues during the test ride, make necessary adjustments or modifications to improve the chain guide’s performance. This may involve tightening screws or relocating the chain guide to find the optimal position.
Remember, it’s essential to regularly inspect and maintain your chain guide to ensure its continued effectiveness. Check for any signs of wear and tear, and make any necessary repairs or replacements as needed.
Frequently Asked Questions
1. What materials do I need to make a chain guide?
You will need a plastic guide material, such as UHMW or HDPE, bolts and nuts for attaching the guide to your bike frame, and tools like a drill, saw, and measuring tape.
2. How do I measure the size of my chain guide?
To determine the size of your chain guide, measure the width of your bike’s chainring. Ensure that the chain guide you make is slightly wider than the chainring to provide ample coverage and prevent the chain from falling off.
3. What steps should I follow to create a chain guide?
First, measure and cut your plastic guide material to the desired length and width. Then, mark and drill holes for the bolts. Attach the guide to your bike frame using the bolts and nuts. Finally, test the chain guide to ensure it functions properly.
4. Can I use alternative materials for the chain guide?
While plastic materials like UHMW and HDPE are commonly used for chain guides due to their low friction properties, you can also experiment with other materials such as aluminum or carbon fiber, as long as they provide sufficient protection and support for your bike’s chain.
5. Are there any safety precautions I should take while making a chain guide?
Wear safety goggles and gloves during the cutting and drilling process to protect yourself from any potential injuries. Use caution when handling sharp tools and ensure proper ventilation when working with any chemical substances that may be required for modifying the guide material.
Final Thoughts
In conclusion, creating a chain guide for your bike is a simple and cost-effective solution to prevent chain drops and improve your overall riding experience. By following the step-by-step instructions outlined in this article, you can easily make a chain guide using readily available materials.
It’s important to prioritize safety and ensure that the guide is properly installed and aligned to effectively guide the chain. With a homemade chain guide, you can enjoy smoother rides and worry less about chain-related issues.
So don’t hesitate to try your hand at making a chain guide, and enhance your biking adventures today.