
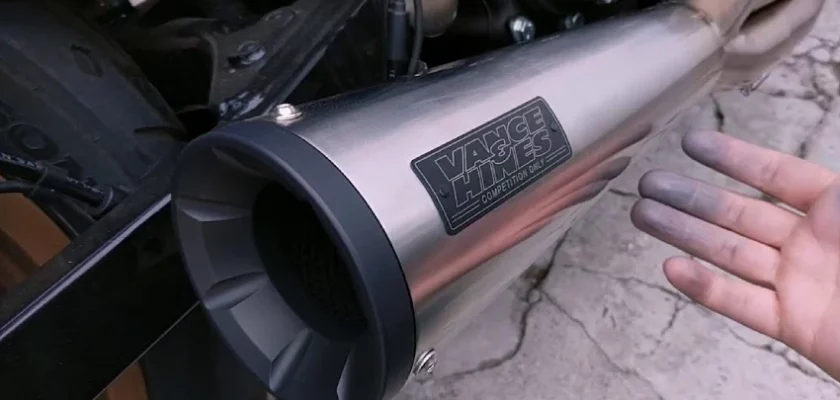
Are you tired of seeing unsightly scratches on your bike silencer? Well, you’re certainly not alone. Scratches on the silencer can not only detract from the overall look of your bike, but they can also be a constant reminder of any mishaps or accidents you may have had.
But don’t worry, there is a solution! In this blog article, we’re going to show you exactly how to remove scratches from your bike silencer and restore it to its former glory. So, if you’re ready to make your bike shine again, keep reading to discover the step-by-step process of removing those pesky scratches from your silencer.
Fix Scratches On Bike Silencer: Ultimate Guide
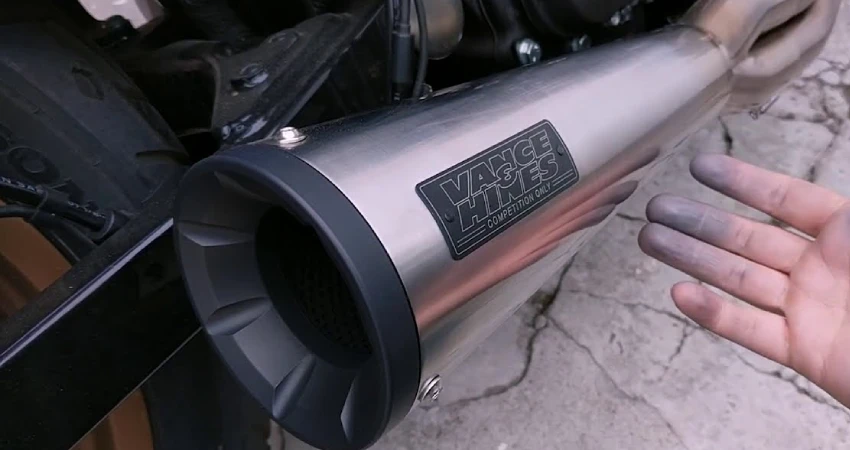
Your bike’s silencer plays a crucial role in reducing noise and expelling exhaust gases. Over time, it’s common for the silencer to accumulate scratches and damage from regular use. Scratches not only affect the appearance of your bike but can also lead to rust and other issues if left unattended. Fortunately, there are several methods you can try to remove scratches from your bike silencer.
Inspecting the Damage
Before diving into the process of removing scratches, it’s important to assess the extent of the damage on your bike silencer. Scratches can vary in depth and severity, and certain methods may be more suitable for specific types of scratches. Here are a few things to consider during the inspection:
- Scratch Depth: Determine whether the scratches are superficial or deep. Superficial scratches may only affect the top layer of the silencer, while deep scratches may require more intensive repair.
- Surface Material: Identify the material of your silencer. Most modern silencers are made of stainless steel, aluminum, or carbon fiber. Different materials may require different approaches to remove scratches.
- Extent of the Damage: Assess the overall condition of the silencer. Are there multiple scratches or just a few? This will help you determine the appropriate method for repair.
Method 1: Polishing Compound
Polishing compound is a popular choice for removing surface-level scratches and restoring shine to bike silencers. Here’s how you can use this method effectively:
- Clean the Silencer: Start by washing the silencer with mild soap and water to remove any dirt or debris that could further scratch the surface.
- Apply Polishing Compound: Dab a small amount of polishing compound onto a soft, lint-free cloth. Gently rub the compound onto the scratched area using circular motions.
- Buff the Surface: Using a clean cloth, buff the area in straight lines to remove the compound residue and reveal the polished surface. Continue this process until the scratches are no longer visible.
- Apply Protective Coating: To prevent future scratches, apply a layer of clear coat or wax to the silencer. This will help protect the surface and maintain its shine.
Method 2: Sanding and Polishing
If the scratches on your bike silencer are slightly deeper, you may need to use sandpaper to smooth the surface before polishing. Follow these steps for sanding and polishing your silencer:
- Clean the Silencer: Begin by cleaning the silencer using mild soap and water to remove any dirt and grime.
- Choose the Sandpaper: Depending on the depth of the scratches, select a fine-grit sandpaper (around 400-800 grit) to start sanding the affected area.
- Sand the Scratched Area: Wet the sandpaper and gently sand the scratches in a circular motion. Keep the sandpaper and the surface wet to avoid excessive heat buildup and damage.
- Switch to Finer Grits: Gradually switch to finer grit sandpapers (1000-2000 grit) to further smoothen the surface and remove any scratch marks left by the coarser grits.
- Apply Polishing Compound: Apply a small amount of polishing compound to a soft cloth and polish the sanded area in circular motions. This will restore the shine and remove any remaining scratches.
- Clean and Protect: Clean the surface thoroughly and apply a protective coating to maintain the polished appearance and protect against future scratches.
Method 3: Heat Gun
For deeper scratches or paint transfer on the silencer, using a heat gun can be an effective method. However, this method requires caution and should only be used on metal silencers:
- Protect the Surrounding Areas: Before applying heat, use masking tape or aluminum foil to protect any parts of the bike near the silencer, such as the exhaust pipe or paintwork.
- Gradually Heat the Area: Set the heat gun to the lowest setting and point it towards the scratched area. Gradually move the heat gun back and forth, heating the surface. Be careful not to hold the heat gun in one spot for too long to avoid damage.
- Check for Changes: As the heat is applied, the scratches may start to fade or disappear. Keep a close eye on the surface and stop heating once you achieve the desired results.
- Let it Cool: Once the scratches have diminished, allow the silencer to cool down completely before removing the protective coverings.
- Clean and Protect: Clean the silencer with mild soap and water and apply a protective coating to maintain the restored appearance.
Preventing Future Scratches
After successfully removing scratches from your bike silencer, it’s important to take preventive measures to avoid future damage. Here are a few tips to keep your silencer in pristine condition:
- Avoid Abrasive Cleaning: Use soft cloths or sponges when cleaning the silencer to avoid unintentional scratches.
- Park Safely: Be conscious of where you park your bike to minimize the risk of accidental contact with walls, other vehicles, or sharp objects.
- Consider Protective Films: Applying a clear adhesive protective film on the silencer’s surface can prevent scratches caused by debris or accidental impact.
- Regular Inspection: Routinely inspect the silencer for any new scratches or damage. Addressing them early can prevent them from worsening.
Frequently Asked Questions
1: Can scratches on a bike silencer be repaired easily at home?
Yes, minor scratches on a bike silencer can be repaired at home using simple methods and tools like toothpaste or metal polish.
2: What is the procedure for removing scratches from a bike silencer using toothpaste?
Apply toothpaste on the scratched surface and gently rub it using a clean cloth. Rinse off the area with water and polish with a soft cloth to restore the shine.
3: How can I remove deeper scratches from my bike silencer?
For deeper scratches, use metal polish along with a soft cloth. Apply the polish to the scratched area and rub gently in a circular motion until the scratch is less visible or completely removed.
4: Are there any alternative methods to remove scratches from a bike silencer?
Yes, you can also use specialized scratch removal products available in the market. Follow the instructions on the product packaging for the best results.
5: Is it necessary to repaint the bike silencer after removing scratches?
If the scratch is deep and has removed the paint, it may be necessary to repaint the silencer to prevent rust. Consult a professional or refer to the bike manufacturer’s guidelines for the appropriate paint and application method.
Final Thoughts
To remove scratches from your bike silencer, follow these steps. Start by cleaning the affected area thoroughly with a mild detergent and water. Next, apply a specialized scratch removal compound using a soft cloth, gently rubbing it onto the scratches in a circular motion.
Leave it to dry for a few minutes, then use a microfiber cloth to buff the area until the scratches disappear. Finally, apply a layer of high-quality wax or paint sealant to protect the silencer and give it a shiny finish. Remember to always test any products or techniques on a small, inconspicuous area first.
In conclusion, removing scratches from your bike silencer is a straightforward process that requires some basic cleaning and polishing techniques. By following these steps and using the right products, you can restore your silencer’s appearance and protect it from further damage. So, give your bike silencer the TLC it deserves and enjoy a scratch-free, shiny finish.