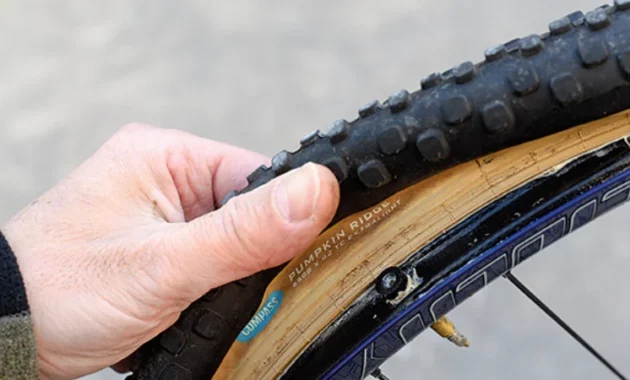
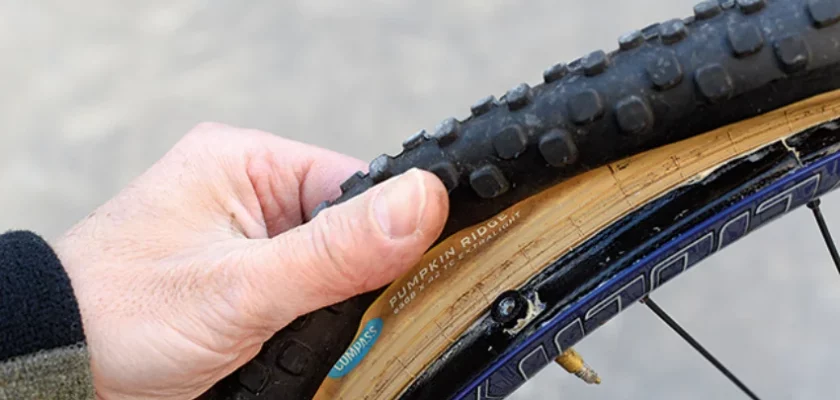
Tubeless tires are pretty awesome. Do you know why? Because they don’t have an inner tube like traditional tires. Instead, the tire and the wheel are sealed together to prevent the escape of air.
This seal keeps the air inside the tire, even if you get a small puncture. It means fewer flat tires for cyclists, which is a big win! No more fixing a flat tire on the side of the road. You can keep riding without worrying about it.
Tubeless tires also provide a smoother ride because you can run them at lower pressures. This gives you more traction and better control, especially when tackling rough terrains. It’s like having a cushiony layer between you and the road.
Cyclists love tubeless tires because they offer improved performance. They are lighter than traditional tires with tubes, which means less rolling resistance. You can go faster and use less energy. Plus, they can be set up with sealant, which helps seal small punctures as you ride.
At first, it can be hard to seat a tubeless tire, but once you do it a few times, it gets easier. It takes a few steps, but it gets easier once you get used to it.
Cycle Condition For Seating A Tubeless Tire
Before you try to put a tubeless tire on your bike, Make sure that it meets certain conditions. These things are:
Tubeless-ready wheels: The rims on your bike should be made for tubeless tires. Most of the time, these wheels have a hooked bead that keeps the tire in place.
Correct Tubeless-Ready Tires: Use tubeless-ready tires, which have a stronger bead and a more airtight design. Tubeless adapter kits can be used to change tires that don’t come without tubes, but the results may vary.
Clean Rim and Tire Beads: Make sure the rim and tire bead areas are clean and free of dirt, old sealant, or adhesive residue. This will make sure that the tire and rim are sealed well.
Have These Tools
Collect the following tools and items to seat a tubeless tire:
Tubeless-Ready Tire: Choose a tubeless tire that fits the way you ride, the terrain, and the performance you want.
Sealant: Tubeless Sealant is a liquid that fills holes and stops air from leaking out. Choose a lubricant that fits the size and purpose of your tires.
Tubeless Valves: These are made to fit on wheels without tubes and have a core that can be taken out and used to inject sealant.
Tire handles: You can remove the old tire and put on the new one with the tire handles.
Compressor or High-Volume Pump: You need either a compressor or a high-volume pump to send a quick burst of air to the tire beads to help them stick to the rim.
A Self Guide To Seat A Tubeless Tire
I guess you have never done this before and you are a little confused. Don’t fear, I am here. Let’s do the job together.

Prepare the wheel: Make sure the rim is clean and has no dirt or old sealer stuck to it. You can use the tire hooks to pry the old tire off the rim if you need to.
Install the tubeless valve: Take one of the tubeless valves and remove the valve core if it is already there. In the rim, Put the valve through the hole for the valve and make sure it is tight. If the valve comes with a lock nut, thread it onto the valve from inside the rim.
Add sealant: To add sealant, give the bottle a good shake to mix the ingredients. Take off the valve core from the tubeless valve and put the recommended amount of sealant into the tire using the syringe or the tool that came with the kit. How much sealant to use will depend on what the tire maker says.
Mount the tire onto the rim: Start by putting the valve stem of one side of the tubeless tire on the rim. Use the handles on the tire to pull and stretch it onto the rim. When doing this, be careful not to pinch the tubeless valve.
Seat the tire bead: Use a high-volume pump or connect the compressor to the tubeless valve to fill the tire with air. Fill the tire with enough air so the tire bead is fully set against the rim. When the tire bead is in place, you may hear a “pop” or “snap” sound. If the tire bead doesn’t sit, try giving it a quick burst of air from the pump or compressor.
Check for leaks: Once the tire bead is in place, turn the wheel and look for any leaks in the tire. Also, listen to see if the tire lets air out. If there are leaks, turn the wheel so the hole is at the bottom. The sealer will then fill the gap. If the leak doesn’t stop, you may need to remove the tire and look for problems.
Reinstall the valve core: Once the tire is in place and there are no leaks, put the valve core back into the tubeless valve and tighten it firmly. If you use a lock nut, tighten it from the inside of the rim onto the valve.
Inflate the tire: Use a tire pressure gauge to fill the tire to the pressure suggested by the maker. You can find this information on the tire’s sidewall or in its user instructions.
Benefits Of Tubeless Tires
When riders use tires without tubes, they can get several benefits:
Reduced risk of punctures: Tubeless tires are made so that they don’t need an inner tube. This makes it much less likely that pinch flats or small sharp items will cause a hole in the tire. Since there is no tube, there is no chance of pinching it between the tire and the rim.
Lower tire pressure and increased traction: With tubeless tires, you can run lower tire pressures without thinking about pinch flats. This gives you better traction. This makes the tire grip better and rides more comfortably, especially when going off-road or on a rough surface. Lower pressure lets the tire adapt to the surface, making it easier to grip and control.
Better rolling resistance and efficiency: Traditional clincher tires with tubes tend to have higher rolling resistance than tubeless tires. Because there isn’t a tube, there is less friction, which makes the machine more efficient and could make it go faster. This can be especially helpful for road riders who want to improve their speed.
Sealing capabilities: Tubeless tires are equipped with sealant, a liquid compound added inside the tire, which can instantly seal small punctures or cuts as they happen. The sealant quickly fills the hole, preventing air from escaping and maintaining tire pressure. This self-sealing feature helps to avoid sudden flats, allowing you to continue your ride without interruptions.
Enhanced reliability and durability: Tubeless tires tend to last longer. Since there is no tube, there is no chance of pinch flats or blowouts. Again, the sealant in tubeless tires can fix small holes that could otherwise lead to flats. This makes riding more predictable and consistent.
Can I Repair A Tubeless Tire If It Gets A Larger Puncture Or Cut?
Tire plugs or patches made for tubeless systems can be used to fix tubeless tires. If the hole or cut is big, you may need to put a patch on the inside of the tire to strengthen the area. But if the damage is too bad or the rim is damaged, the tire may need to be replaced.
To know more, Read this Article “How To Fix A Flat Tubeless Road Bike Tire”
Can I Use Tubeless Tires With Inner Tubes?
Yes, you can use inner tubes with tubeless tires if you need to. This is often done as a quick fix if you don’t have any parts that work with tubeless tires. If you want to know the process you can read this article on “Can You Put A Tube In A Tubeless Tire?”
Final Words
It is important to seat a tubeless tire properly for the best performance, resistance to punctures, and overall ride quality. You can seat a tubeless tire by making sure your bike meets the requirements, getting the right tools and goods, and following the step-by-step installation guide.
Take advantage of the benefits of tubeless technology, such as better grip, less rolling resistance, and a smoother ride.
Ride safe, and Happy Riding!

