Flat tires often happen in the riding world, which is a pain. When riding tubeless tires, dealing with a flat tire can be incredibly stressful for road bike fans. But a flat tubeless road bike tire is easy to fix if you know the process and have the right tools. In this article, we’ll show you how to fix a flat tubeless road bike tire so You can be on the road fast.
Gather the Required Tools
Before you begin the process, you need to have all of the necessary tools. You’ll need the following items:
Tubeless Tire Repair Kit: This kit is used to repair tubeless tire punctures. A tire plug insertion tool, tire plugs, and a tiny knife or scissors are usually included. When a tiny puncture occurs in the tire, use the insertion tool to insert a tire plug into the hole.
Tire Levers: These tools are intended to assist you in removing the tire from the rim. When repairing or replacing a tubeless tire, it is normally necessary to first remove it from the rim. Tyre levers are used to pry the tire out from the rim without injuring either the tire or the rim.
Co2 Inflator Or A Mini-Pump: A CO2 inflator rapidly inflates the tire by using compressed carbon dioxide gas. It often comes with a cartridge that you connect to the inflator. A mini pump, on the other hand, is a little portable pump that you manually operate to inflate the tire. Both alternatives are small and portable, making them ideal for on-the-go tire inflation.
Valve Core Removal Tool: It is used to extract the valve core from the valve stem of a tire. The valve core is a tiny component found inside the valve stem that controls the passage of air into and out of the tire. You can remove any leftover air in the tire by removing the valve core
How To Fix A Flat Tubeless Road Bike Tire – Steps

Step-1: Remove The Wheel
Remove the tire from the bike frame to repair a flat tubeless road bike tire. Take the following steps:
- Shift the bike into the smallest chainring and rear cassette cog.
- Open the brake caliper release mechanism to allow the tire to pass through.
- To remove the wheel from the frame, disengage the quick-release lever or loosen the thru-axle.
Step–2: Deflate the Tire
- Take off the valve cap from the stem of the valve.
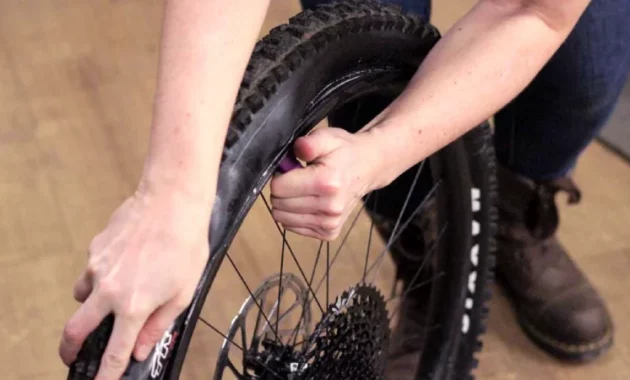
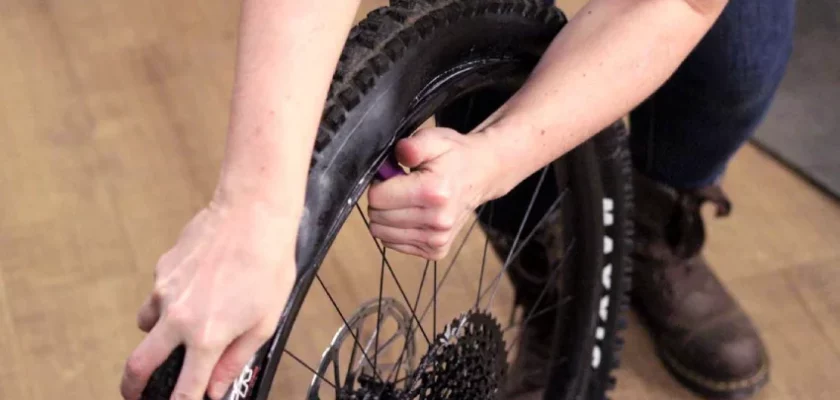
- Using the valve core removal tool, unscrew the valve core and let the air escape from the tire.
Step-3: Inspect And Locate the Puncture
Check the tire carefully to find where the hole is. Look for things like nails, bits of glass, or thorns that could have caused the flat. Once you find the spot, mark it to see it faster when fixing it.
Plug The Puncture
Set the tool for putting a tire plug into the hole, but leave a small part of the tool sticking out. Take a plug from your repair kit and put it on the insertion tool by threading it on.
- Push the tire plug into the hole and make sure it goes through the whole tire.
- Pull the insertion tool out slowly, leaving the tire plug where it is.
- Cut off with a knife or scissors any extra plug that is sticking out of the tire.
Reinflating The Tire
After successfully plugging the puncture, it’s time to reinflate the tire. Here’s what you need to do:
- Reinstall the valve core using the valve core removal tool.
- Connect your CO2 inflator or mini pump to the valve stem.
- Fill the tire up to the suggested pressure, which is written on the sidewall of the tire.
- Listen and feel for any air leaks around the repaired puncture. If there is a leak, repeat steps V and VI.
Reinstall the Wheel
- Once the tire is fully inflated, it’s time to reattach the wheel to your road bike:
- Put the wheel in the gaps on the frame.
- Make sure the wheel is safely in place by putting in the quick-release skewer or tightening the thru-axle.
- If the brake caliper release device was already open, you should close it.
Final Words
Fixing a flat tubeless road bike tire is a step-by-step process that starts with figuring out what’s wrong, removing the wheel, checking and fixing the tire, and then putting it back on the bike. Following these steps, you can fix a flat tire quickly and return to enjoying your trip.
Happy Riding!


