
Ever wondered how to adjust the chain guard on your road bike? Well, look no further. In this blog article, we will guide you through the process, step-by-step, so you can ensure your chain guard is properly adjusted and functioning optimally.
Whether you’re a seasoned cyclist or just starting out, the chain guard plays a vital role in protecting your bike’s chain from dirt, debris, and potential damage.
A well-adjusted chain guard not only prevents any unwanted chain slips or drops but also helps prolong the life of your bike’s drivetrain. So, let’s dive right in and learn how to adjust the chain guard on your road bike effectively.
Adjusting Chain Guard On Road Bike: Ultimate Guide
One essential aspect of bicycle maintenance is adjusting the chain guard, which plays a crucial role in protecting the chain and preventing it from falling off or getting tangled.
Why is it important to adjust the chain guard?
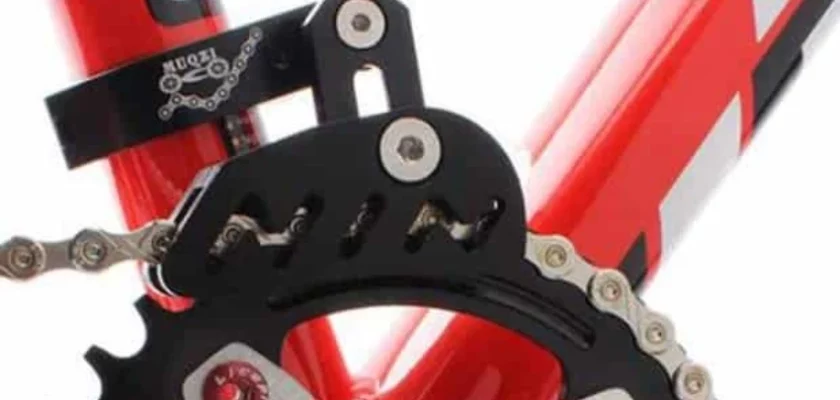
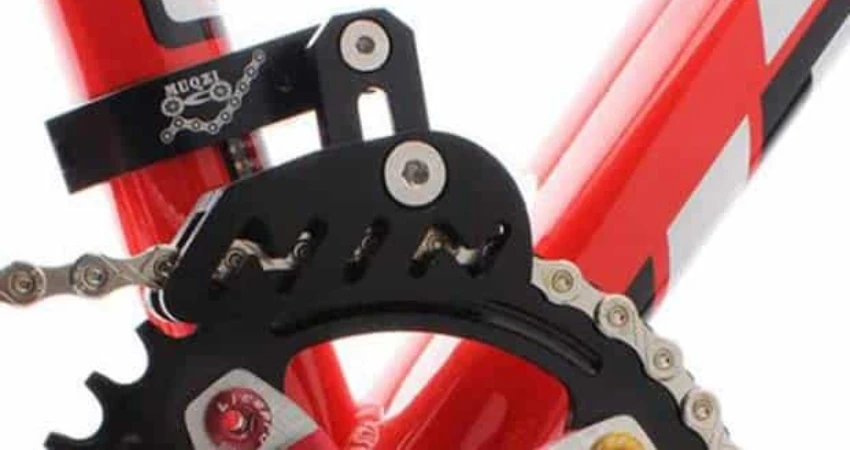
The chain guard, also known as a chain guide, is a vital component of your road bike. Its primary function is to keep the chain on the front chainrings, preventing it from derailing or rubbing against the frame. By properly adjusting the chain guard, you can:
Enhance shifting performance: A well-adjusted chain guard ensures smooth and precise shifting, allowing you to change gears effortlessly.
Prevent chain drops: Adequate chain guard adjustment minimizes the risk of the chain falling off during sudden shifts or rough terrains, providing a worry-free and safe ride.
Reduce chain wear: A properly maintained chain guard prevents unnecessary friction and rubbing, extending the lifespan of your chain and drivetrain components.
Tools required for adjusting the chain guard
Before we dive into the adjustment process, it’s essential to gather the necessary tools and materials. Here’s what you’ll need:
- Allen wrench set: Most road bikes use Allen bolts for adjusting the chain guard, so having a set of wrenches in different sizes ensures you have the correct one for your bike.
- Screwdriver: Depending on your chain guard design, you may need a screwdriver to make small adjustments.
- Ruler or tape measure: You’ll need a measuring tool to ensure the optimal clearance between the chain guard and the chainrings.
- Grease: A small amount of bike grease or lubricant can be handy for smooth adjustment and preventing any future creaking noises.
Step-by-step guide to adjusting the chain guard
Now that you have everything you need, let’s get started with the step-by-step process of adjusting the chain guard on your road bike:
Step 1: Prepare your bike
- Find a well-lit and clean workspace to ensure you can see and work on the chain guard components effectively.
- Shift your bike into the smallest chainring on the front and the smallest cog on the rear. This position provides optimal clearance for adjusting the chain guard.
- Turn your bike upside down, resting it on the handlebars and seat, or use a bike workstand if you have one. This position allows easy access to the chain guard and avoids any damage to the bike’s components.
Step 2: Check the clearance
- Inspect the chain guard closely to identify any signs of damage or misalignment. Make sure there are no cracks, bent sections, or loose parts.
- Measure the clearance between the chain guard and the chainrings using either a ruler or tape measure. The optimal clearance is typically between 1-2mm.
- If the clearance is too tight or too wide, it’s necessary to adjust the chain guard to achieve the ideal clearance.
Step 3: Adjust the chain guard
- Locate the adjustment bolts on the chain guard. These bolts are usually positioned close to the chainrings and can be easily identified.
- Loosen the bolts using the appropriate Allen wrench to release the tension on the chain guard.
- Gently adjust the chain guard’s position by moving it slightly closer or further away from the chainrings, depending on the desired clearance.
- Take your time to align the chain guard parallel to the chainrings, ensuring it doesn’t tilt to one side or rub against them.
- Once you’re satisfied with the adjustment, tighten the bolts firmly to secure the chain guard in its new position.
Step 4: Test and fine-tune
- Flip your bike back to its upright position and test the chain guard by pedaling gently through each gear.
- Pay close attention to any unusual noises or resistance that may indicate improper adjustment.
- If you notice any issues, repeat the adjustment process, making small tweaks until the chain guard functions smoothly without interference or rubbing.
- Once the chain guard is properly adjusted, apply a small amount of grease to the bolts and joint areas to ensure continued smooth operation and prevent any creaking noises.
Frequently Asked Questions
1. How do I adjust the chain guard on my road bike?
To adjust the chain guard on your road bike, start by loosening the bolts holding the guard in place. Then, carefully move the guard along the chain until it is aligned properly. Finally, tighten the bolts securely to keep the guard in position.
2. What tools do I need to adjust the chain guard on my road bike?
To adjust the chain guard on your road bike, you will need an Allen wrench or a screwdriver, depending on the type of bolts used to secure the guard. Make sure to use the proper size of tool to ensure a secure fit.
3. Can I adjust the chain guard without removing the chain from my road bike?
Yes, it is possible to adjust the chain guard without removing the chain from your road bike. By carefully moving the guard along the chain, you can achieve proper alignment without the need to detach the chain.
4. How can I tell if my chain guard is properly adjusted on my road bike?
A properly adjusted chain guard on your road bike should be aligned parallel to the chain and not rub against it during pedaling. Additionally, make sure that the guard is securely fastened in place to avoid any movement or noise.
5. Why is it important to have a properly adjusted chain guard on my road bike?
A properly adjusted chain guard on your road bike helps to prevent chain derailments and keeps your chain from coming into contact with other components, such as your frame or clothing. This adjustment is crucial for smooth and safe cycling.
Final Thoughts
In conclusion, adjusting the chain guard on a road bike is a crucial step in maintaining optimal performance and safety. By following the steps outlined in this article and utilizing the necessary tools, riders can ensure that their chain guard is properly aligned and functioning as intended.
To adjust the chain guard, start by loosening the bolts and aligning the guard with the chainring. Then, tighten the bolts symmetrically to secure the guard in place. It is important to check the tension of the chain after adjusting the guard to ensure proper functioning.
By regularly checking and adjusting the chain guard on your road bike, you can prevent chain drops and minimize the risk of accidents. Remember, a properly adjusted chain guard is essential for a smooth and safe ride.