
Whether you’re a seasoned cyclist or new to the world of bike maintenance, these tips will help you achieve smooth and precise shifting every time you hit the road.
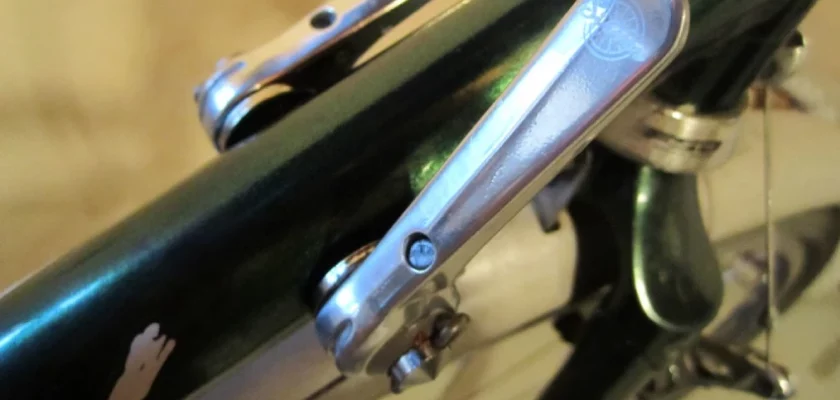
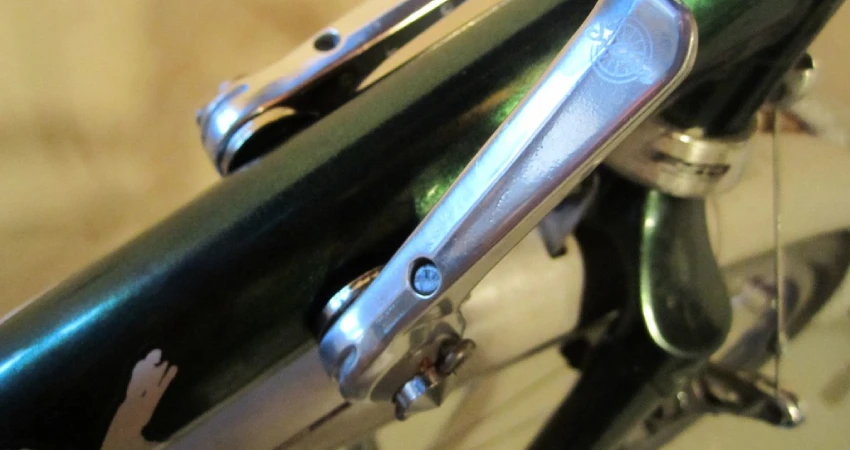
Downtube shifters, located on the downtube of your bicycle frame, are a common type of gear shifter found on older road bikes. They can sometimes be tricky to fine-tune, but fear not! We’re here to simplify the process and provide you with all the knowledge you need to get your shifting system back in top shape.
So, if you’re ready to conquer those gear-changing troubles and enhance your cycling experience, let’s dive into how to adjust downtube shifters.
Adjust Downtube Shifters: Master Shifting Techniques
Downtube shifters have been a popular choice for cycling enthusiasts for many years. Although most modern bikes now come equipped with integrated brake and shift lever systems, some riders still prefer the simplicity and reliability of downtube shifters.
However, keeping these shifters properly adjusted is essential to ensure smooth gear changes and an overall enjoyable riding experience.
Tools You Will Need
Before we dive into the adjustment process, it’s important to gather the necessary tools. Here’s what you’ll need:
- Metric Allen wrench set
- Screwdriver (preferably a flathead and a Phillips)
- Chain lubricant
- Rag or towel
Step 1: Positioning the Bike
To make the adjustment process easier, it’s best to secure your bike in a work stand or ensure it is stable on the ground. This will allow you to work on the shifters without any unnecessary strain.
Step 2: Verifying Cable Tension
Before making any adjustments, it’s important to ensure that the cable tension is properly set. Start by shifting the chain to the smallest chainring and the smallest rear cog. This will relieve any tension in the cable, allowing you to adjust it accurately.
Step 3: Adjusting the Front Derailleur
Start by locating the front derailleur, which is responsible for shifting the chain between the chainrings. Follow these steps to adjust it:
- Shift the chain onto the largest chainring.
- Loosen the cable anchor bolt using an Allen wrench.
- Use the front derailleur’s high limit screw to align the derailleur so that it sits parallel to the chainrings.
- While applying tension to the cable, tighten the cable anchor bolt.
- Shift through the gears to ensure smooth and precise front shifting.
Step 4: Adjusting the Rear Derailleur
The rear derailleur controls the movement of the chain across the cassette. Follow these steps to properly adjust it:
- Shift the chain onto the smallest rear cog.
- Start by adjusting the high-limit screw on the rear derailleur. This screw limits how far the derailleur can move towards the smallest cog. Use the screwdriver to ensure that the jockey wheel lines up with the smallest cog.
- Shift to the largest rear cog and adjust the low-limit screw on the rear derailleur accordingly. Again, use the screwdriver to align the jockey wheel with the largest cog.
- Move the chain to a middle gear and fine-tune the cable tension using the barrel adjuster. Turn the barrel adjuster clockwise to increase tension and counter-clockwise to decrease tension.
- Test the shifting by shifting up and down through the gears. Make any necessary adjustments to the cable tension until the shifting is smooth and accurate.
Step 5: Fine-Tuning and Chain Lubrication
With the basic adjustments made, it’s time to fine-tune the shifting and ensure optimal performance:
- Check the shifting across all gears, paying particular attention to any skipping or hesitation.
- If you notice any issues, use the barrel adjuster to make minor tension adjustments until the shifting is flawless.
- It’s also a good idea to inspect the chain for wear and lubricate it regularly to maintain smooth shifting. Apply chain lubricant and wipe off any excess with a rag or towel.
Step 6: Test Ride
With your downtube shifters now properly adjusted, it’s time to take your bike for a test ride. Pay attention to the shifting performance as you go through various gears and ensure that the bike responds smoothly and reliably. If you notice any persistent issues, you may need to revisit the previous steps and make further adjustments as needed.
Remember, adjusting downtube shifters can take some practice, but with time and patience, you’ll become familiar with the process. Regular maintenance and routine checks are key to keeping your downtube shifters operating at their best.
As you continue to sharpen your skills with downtube shifters, you’ll enjoy the precise, mechanical feel that these classic components provide. Happy riding!
Frequently Asked Questions
1. How do I determine if my downtube shifters need adjustment?
Check if your gears are shifting smoothly and accurately. If the chain is skipping or hesitating, it’s likely that your downtube shifters need adjustment.
2. What tools do I need to adjust downtube shifters?
You’ll need a 5mm Allen wrench, a screwdriver, and possibly a cable tension adjustment tool to fine-tune the shifting.
3. How do I adjust the indexing on my downtube shifters?
Shift to the smallest chainring and the smallest rear cog. Use the barrel adjuster to align the jockey wheel with the cog by turning it clockwise to tighten or counterclockwise to loosen the cable tension.
4. How do I adjust cable tension on my downtube shifters?
Shift to the largest chainring and the smallest rear cog. Use the barrel adjuster to fine-tune the shifting by turning it clockwise to increase tension or counterclockwise to decrease tension.
5. How do I troubleshoot sticky shifting on my downtube shifters?
Check for any dirt or debris that may be affecting the shifting. Clean the shifters, cables, and derailleur, then lubricate them if necessary. If the problem persists, consult a bike mechanic for further assistance.
Final Thoughts
In conclusion, adjusting downtube shifters is a vital skill for any cyclist. By following a few simple steps, you can ensure smooth and efficient gear changes, enhancing your overall riding experience. Remember to start by loosening the cable fixing bolt and adjusting the high and low limit screws to achieve the correct indexing.
Additionally, pay attention to the cable tension and fine-tune it for precise shifting. Taking the time to master this adjustment process will result in reliable and accurate gear shifting, allowing you to focus on enjoying your ride to the fullest. So, next time you find yourself struggling with shifting, refer back to this guide on how to adjust downtube shifters.