
Whether you’re a seasoned cyclist or a newbie to bike maintenance, this is a must-read for anyone looking to maintain optimal performance and safety.
Bleeding your brakes is an essential maintenance task that helps remove air bubbles and restore the proper fluid pressure, ultimately improving braking power and performance. We understand the frustration that can come with this process, especially if you’re unsure where to start.
That’s why we’re here to provide you with a conversational and informative introduction on how to bleed Juicy 7 brakes. So let’s dive in and demystify this procedure, allowing you to ride confidently with reliable and responsive brakes.
Bleed Juicy 7 Brakes: A Step-By-Step Guide
Bleeding ensures optimum brake performance by removing any air bubbles in the hydraulic system, which can cause spongy or inconsistent braking.
What You’ll Need
Before we get started, it’s important to gather the necessary tools and materials. Here’s a list of what you’ll need to bleed your Juicy 7 brakes:
- Avid Bleed Kit (includes syringe, tubing, and bleed block)
- Avid DOT 5.1 brake fluid
- 5mm and 8mm Allen wrenches
- A small adjustable wrench
- An empty container to collect old brake fluid
- Shop towels or rags
Step 1: Prepare the Bike
To start the bleeding process, you’ll need to prepare the bike by following these steps:
- Secure your bike in a bike stand or turn it upside down if you don’t have a stand.
- Remove the bike’s wheel to access the brake caliper easier. This step is optional but can make the process more convenient.
Step 2: Remove the Brake Pads
Before bleeding the brakes, take a moment to remove the brake pads. Here’s how you can do it:
- Locate the retaining clip on the backside of the brake caliper.
- Remove the retaining clip using a small adjustable wrench.
- Gently slide out the brake pads from the caliper.
- Place the brake pads in a clean and safe location.
Step 3: Attach the Bleed Block
To prevent brake fluid from leaking and causing damage, attach the bleed block as follows:
- Locate the bleed block included in your Avid Bleed Kit.
- Insert the bleed block into the caliper, between the brake pistons.
- Ensure the bleed block is fully inserted and level with the caliper body.
Step 4: Prepare the Brake Bleeding Syringe
Now it’s time to prepare the brake bleeding syringe. Follow these steps to get ready:
- Fill the syringe with Avid DOT 5.1 brake fluid.
- Make sure to remove any air bubbles by gently tapping the syringe and pushing the plunger until only brake fluid remains.
Step 5: Remove Air from the System
To remove any air from the system, you’ll need to perform the following steps:
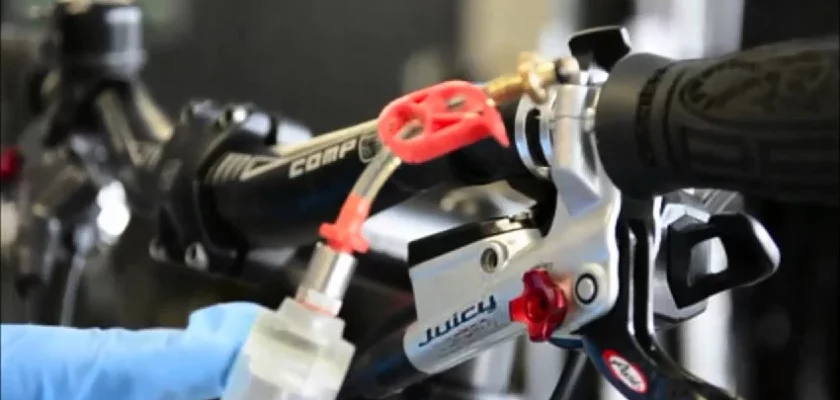
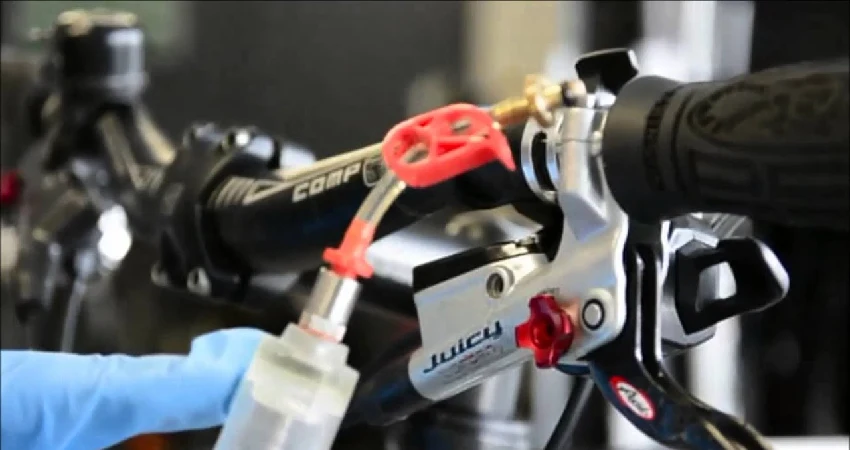
- Locate the bleed port on top of the brake lever assembly.
- Insert the tubing of the bleeding syringe into the bleed port until it forms a tight seal.
- Open the bleed port by turning it counterclockwise with an 8mm Allen wrench.
- Slowly push the brake fluid into the system by compressing the syringe plunger.
- Keep an eye on the fluid level in the syringe to ensure it remains above the minimum level.
- Continue pushing the fluid until all visible air bubbles are expelled from the system.
Step 6: Close the Bleed Port
Once all the air bubbles are removed, it’s time to close the bleed port. Follow these steps:
- Using the 8mm Allen wrench, turn the bleed port clockwise until it is snugly closed.
- Make sure not to over-tighten the bleed port.
Step 7: Reinstall Brake Pads and Wheels
With the brake system properly bled, you can now reinstall the brake pads and wheels:
- Take the brake pads you previously removed and slide them back into the brake caliper.
- Ensure the pads are properly aligned with the caliper pistons and fit snugly.
- Reinstall the retaining clip to secure the pads in place.
- Spin the bike’s wheel and check if the brake rotor fits properly between the pads.
- If necessary, make adjustments to align the brake rotor with the caliper.
- Reinstall the wheel on your bike, ensuring it is securely fastened.
Step 8: Test and Fine-Tune the Brakes
Now that you’ve completed bleeding your Juicy 7 brakes, it’s essential to test them and make any necessary adjustments:
- Pump the brake lever a few times to ensure proper engagement.
- Check for any sponginess or inconsistency in the brake lever feel.
- If the lever feels spongy, repeat the bleeding process from step 3.
- If the lever feels too firm, release some brake fluid from the lever assembly by slightly opening the bleed port with the 8mm Allen wrench and compressing the brake lever.
Frequently Asked Questions
What tools do I need to bleed Juicy 7 brakes?
To bleed Juicy 7 brakes, you’ll need a bleed kit with a syringe and tubing, a 4mm Allen wrench to open the bleed screws, and fresh brake fluid compatible with your brakes.
How often should I bleed my Juicy 7 brakes?
You should bleed your Juicy 7 brakes when there is air in the system, or if the lever feels spongy. It is recommended to bleed them at least once a year for optimal performance.
What is the purpose of bleeding Juicy 7 brakes?
Bleeding Juicy 7 brakes removes air bubbles from the hydraulic system, ensuring proper brake performance and lever feel. It also helps maintain consistent braking power.
Final Thoughts
In conclusion, bleeding Juicy 7 brakes is a crucial step in maintaining optimal performance and safety of your bike. By following the steps outlined in this article, you can confidently complete the process yourself.
Remember to gather all the necessary tools and materials, and to take your time to ensure a thorough bleed.
This will help remove any air bubbles and maintain a consistent, firm brake feel. So, if you find yourself experiencing spongy brakes or a loss in stopping power, don’t hesitate to apply the knowledge gained from this article and perform a brake bleed on your Juicy 7 brakes for a smoother and safer ride.