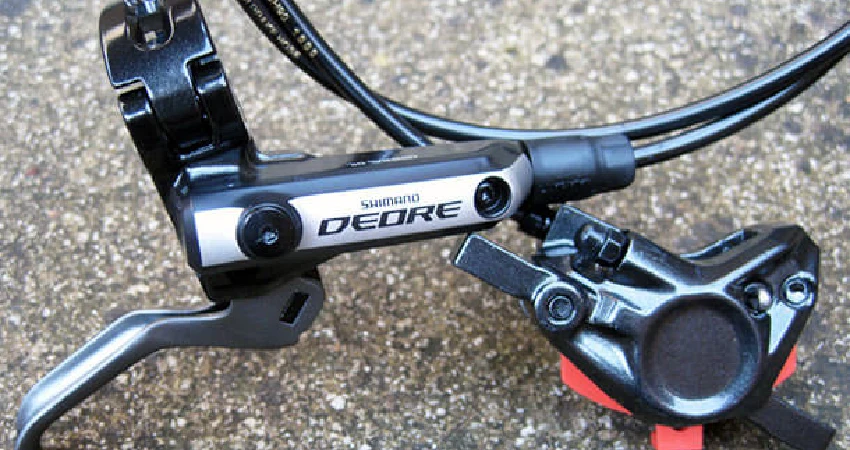
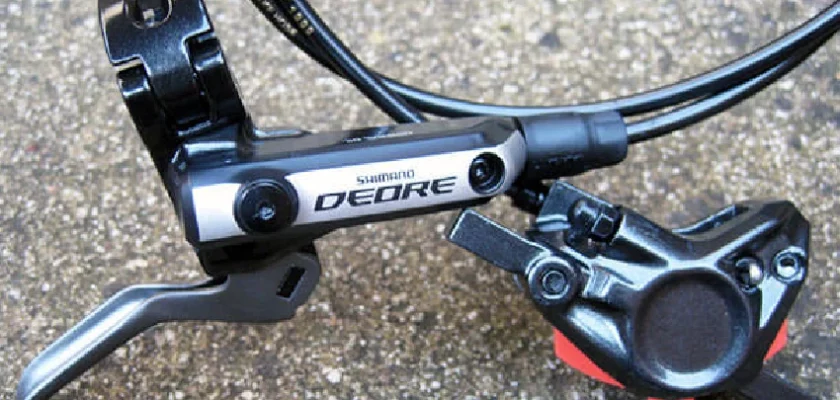
Looking to get your Shimano XTR brakes back in top-notch condition? Wondering how to bleed Shimano XTR brakes? Well, you’ve come to the right place!
Brake maintenance is crucial for any avid cyclist or mountain biker, and bleeding your Shimano XTR brakes is an essential part of that upkeep. Over time, air can make its way into the brake system, leading to a spongy or unresponsive feel when you squeeze the lever.
By following our expert guidance, you’ll learn how to effectively remove any air bubbles and regain that confident, precise stopping power you rely on while out on the trails.
So, if you’re ready to take matters into your own hands and learn the valuable skill of bleeding Shimano XTR brakes, let’s dive right in to get those brakes back in prime condition.
Bleed Shimano Xtr Brakes: Easy Guide

Bleeding Shimano XTR brakes involves removing any air bubbles present in the brake system, which can cause a spongy or inconsistent brake lever feel.
Why Bleeding Shimano XTR Brakes is Important
Before delving into the process, let’s understand why bleeding Shimano XTR brakes is necessary. Over time, air can find its way into the hydraulic brake lines through various means, such as during routine maintenance or when installing new brake pads.
When air is trapped in the brake system, it compresses differently than brake fluid, leading to a mushy brake lever feel and reduced braking power. Bleeding the brakes removes the air bubbles, restoring the firm, consistent lever feel and maximizing the braking performance of your Shimano XTR brakes.
What You’ll Need
To successfully bleed Shimano XTR brakes, you will need the following tools and components:
- Shimano bleeding kit – This kit contains all the necessary equipment, including a bleed funnel with an attached tube, a syringe, brake fluid, and other accessories specific to Shimano XTR brakes.
- Clean, lint-free rags – These will be used to clean any spilled brake fluid and ensure a tidy work environment.
- Shimano XTR brake lever and caliper – The brakes must be properly installed on your bike.
- Allen wrenches – To remove the brake lever and caliper from the handlebars and fork respectively.
- Isopropyl alcohol or brake cleaner – To clean any oil or contaminants on the brake components.
Now that you have all the necessary tools and components, let’s go through the step-by-step process of bleeding Shimano XTR brakes:
Positioning
- Place your bike on a sturdy workstand or flip it upside down.
- Ensure that the bike is stable and won’t tip over during the bleeding process.
Preparation
- Remove the wheel on the side where you will be bleeding the brake. This allows easier access to the caliper.
- Place a clean rag or cardboard underneath the caliper to catch any spilled brake fluid.
- Remove the brake pads from the caliper to prevent accidental contamination with brake fluid during the bleeding process.
- Securely attach the Shimano bleed funnel to the bleed port on the brake lever assembly.
- Ensure that the bleed port is clean and free from any debris.
Preventing contamination
Before proceeding, make sure to clean the entire brake lever, caliper, and bleed funnel, using isopropyl alcohol or brake cleaner, to prevent any contamination of the brake fluid.
Removing old brake fluid
- Attach the syringe to the bleed port at the caliper by threading it clockwise until snug.
- Connect the other end of the syringe to the bleed funnel at the brake lever assembly.
- Slowly pull back the syringe plunger to create a vacuum and suck out the old brake fluid. Dispose of it properly according to your local regulations.
- Repeat this process until most of the old brake fluid has been removed from the system. Be careful not to pull air into the exposed system.
Filling with new brake fluid
- Pour fresh Shimano brake fluid into the syringe.
- Gently tap the brake line with the handle of the screwdriver to encourage any remaining air bubbles to rise to the top.
- Slowly push the syringe plunger to inject the new brake fluid into the brake system.
- Continue this process until the new brake fluid fills the system and no air bubbles are visible in the brake lever assembly and caliper.
Removing excess brake fluid
- Once the brake fluid is filled, remove the syringe from the bleed port and reattach the bleed port screw.
- Wipe away any excess brake fluid using a clean rag or paper towel.
Finishing up
- Reinstall the brake pads into the caliper.
- Replace the wheel you previously removed.
- Give the brake lever a few squeezes to check for a firm, consistent lever feel.
- If the lever feels spongy, repeat the bleeding process until the lever feel is firm.
Frequently Asked Questions
1: When should I bleed my Shimano XTR brakes?
You should bleed your Shimano XTR brakes when you notice a spongy feel or lack of responsiveness in the brake lever. It’s also recommended to bleed them after replacing brake pads or removing the brake caliper.
2: What tools do I need to bleed Shimano XTR brakes?
To bleed Shimano XTR brakes, you will need a bleed kit that includes a syringe, mineral oil, a bleed funnel, and a 7mm wrench to open the bleed port on the brake lever.
3: How do I prepare my bike for bleeding the brakes?
Before bleeding Shimano XTR brakes, make sure your bike is securely supported on a bike stand or elevated surface. Ensure the brake lever is level and remove the wheel to avoid any potential spills on the rotor.
4: Can I use any type of mineral oil to bleed Shimano XTR brakes?
No, you should only use Shimano Mineral Oil, as other types of oil may damage the seals and components of your Shimano XTR brakes. Using the correct oil is crucial for maintaining optimal brake performance.
5: How do I bleed my Shimano XTR brakes?
To bleed Shimano XTR brakes, attach the bleed funnel to the brake lever, open the bleed port, remove any air bubbles from the syringe, push the mineral oil into the system, and repeat the process several times until all air bubbles are gone and the lever feels firm.
Final Thoughts
In conclusion, knowing how to bleed Shimano XTR brakes is an essential skill for any mountain bike enthusiast. By following the step-by-step process outlined in this article, riders can ensure optimal performance and longevity of their brakes.
The key steps, including removing the brake fluid, attaching the bleed block, and carefully injecting the new fluid, allow for a thorough and effective bleed.
Whether for routine maintenance or addressing brake issues, mastering this technique will undoubtedly enhance your biking experience. So don’t hesitate to learn how to bleed Shimano XTR brakes and take control of your ride.

