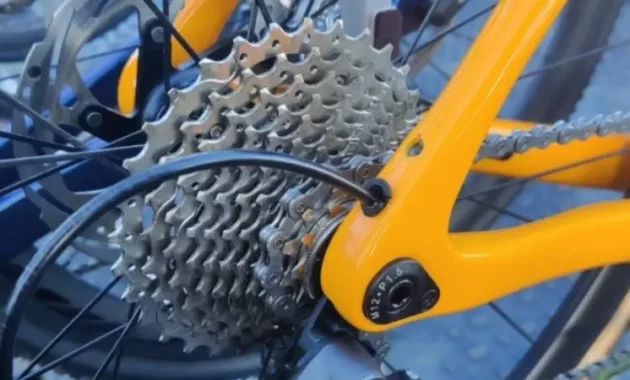
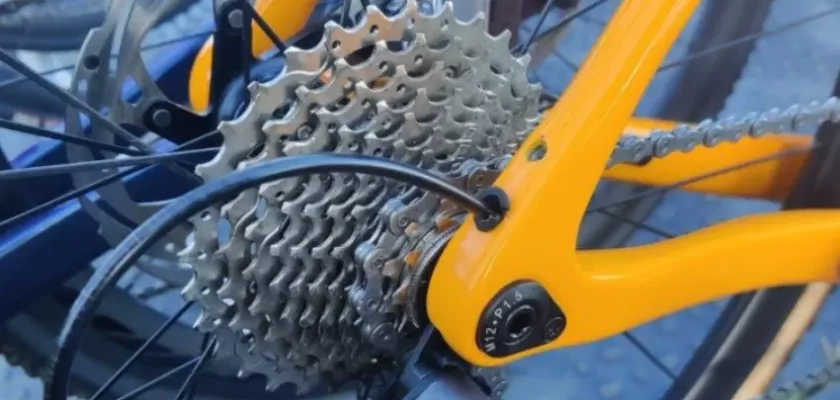
A bike’s gear isn’t complete without a cassette. It has multiple gears that let riders adjust to different terrains and perform at their best. Over time, dirt, grease, and dust can build up on the cassette, making it less valuable and ineffective overall.
Cleaning and maintaining the cassette regularly ensures it shifts smoothly, extends life, and improves the ride experience. This article will show you how to clean a bike cassette the right way, step by step.
Why Do Cyclists Need To Clean Their Bike Cassettes?
Cyclists should regularly clean their bike cassette to ensure it works well and lasts as long as possible. The bike cassette is a group of sprockets on the back wheel. It is an important part of the chain because it helps determine the gear ratio and lets the rider change gears.
Here are a few reasons why it is important to clean the bike cassette:
Improved Shifting: Over time, dirt, grime, and oil residue can build up on the cassette, especially in the spaces between the sprockets. This increase can make it harder to shift gears smoothly and make them move more slowly.
Cleaning the cassette helps remove these deposits, making changing smooth and easy.
Longer life: Dirt and debris that builds up on the cassette can speed up the wear and tear on the engine parts. The particles can work as abrasives, causing more friction and causing the cassette, chain, and derailleur to wear out faster than they should. Regular cleaning cuts down on this wear and helps the motor last longer.
Better Power Transfer: A clean cassette ensures the rider can get the most power from their legs to the back wheel. When the cassette is dirty, the dirt and grime accumulate in the way of the chain and sprockets, making the bike less efficient and losing energy.
Cleaning the cassette helps keep the chain in smooth touch with the sprockets, which allows the most power to be transferred.
Preventive Maintenance: Cleaning your bike’s cassette is part of a larger preventative maintenance practice. By checking and cleaning the cassette often, you can find problems like bent or worn teeth, broken sprockets, or a chain that has worn out.
When these problems are found early, they can be fixed or replaced quickly, avoiding bigger problems and possible accidents.
Tools You Need To Clean Bike Cassette
To clean a bike cassette, you will need the following materials:
Cleaning Solvent or Degreaser: To clean a cassette, use a special degreaser for bikes. This will remove dirt, grime, and old lubricant without damaging your bike.
Bicycle-Specific Chain Cleaner: A bike chain cleaner helps clean the chain and cassette better. It has brushes and holds cleaning solutions. You put it on the chain, pedal, and it cleans.
Stiff Brush: A stiff brush, preferably a toothbrush or a dedicated cassette brush, is used to scrub the individual sprockets of the cassette. The brush helps dislodge dirt, grime, and debris between the sprockets and other hard-to-reach areas.
Clean Rags or Towels: When cleaning, use clean rags or towels to remove excess solvent, dirt, and debris. This keeps the work area clean and prevents leftover contaminants from returning to the cassette.
Water Source: To ensure thorough cleaning of the cassette, it’s essential to have access to a water source such as a hose or bucket. This will help remove any remaining cleaning solvent or degreaser and remove loosened dirt and debris. So remember to have your water source ready before cleaning.
Chain Lubricant: After washing and drying the cassette, it is essential to reapply lubricant to the chain and cassette to ensure smooth operation and prevent corrosion. Choose a bike-specific chain lubricant suitable for the conditions you’ll be riding in.
Optional Tools
Cassette Lockring Tool: You need a cassette lockring tool to remove the cassette from the rear wheel. It helps to clean the cassette or replace it if needed.
Chain Whip: To loosen the lockring, use a chain whip and the cassette lockring tool. This will keep the cassette from rotating freely by providing a counterforce.
How To Clean Bike Cassette – Process

Step 1: Prepare The Bicycle
To clean your bike safely, make sure it is in a steady position. You can use a bike stand or turn it upside down. This will help you reach the cassette and prevent any harm.
Step 2: Remove The Rear Wheel (Optional)
You can remove the back wheel to make cleaning the cassette easier, but it’s unnecessary. Use the quick-release lever or tools to remove the wheel carefully so you don’t harm the chain or derailleur.
Step 3: Apply Degreaser
Use a safe cleaning solution on the cassette of your bike. Apply it generously to the teeth of the cassette, especially on the inner surfaces where dirt accumulates. Wait a few minutes for the solution to break down the grease and grime. Choose a solvent that won’t damage the bike’s parts or rubber seals.
Step 4: Scrub The Cassette
Clean your cassette thoroughly using a stiff brush like a toothbrush or a cassette brush. Scrub between the cogs and teeth to remove dirt and grime. Pay attention to hard-to-reach areas and jockey wheels. Make sure to clean all surfaces of the cassette.
Step 5: Rinse The Cassette
After cleaning the cassette, rinse it well with clean water using a hose or bucket. Make sure to wash away all the degreaser and residue thoroughly. Be careful not to spray water on any bearings or hubs, as it can damage them.
Step 6: Dry The Cassette
After rinsing:
- To dry the cassette, it is recommended to use clean rags or towels.
- Wipe away any remaining moisture to prevent corrosion.
- Pay close attention to the areas between the cogs and around the derailleur jockey wheels.
- Ensure that the cassette is completely dry before proceeding to the next step.
Step 7: Lubricate The Chain And Cassette
Put oil on the bike chain where it goes over the parts. Let the oil soak in, and then wipe off any extra with a cloth. This makes the chain work better and stops it from getting rusty or corroded.
Step 8: Reinstall The Rear Wheel (If Removed)
If you removed the rear wheel earlier, carefully reinstall it, ensuring the chain is properly seated on the cassette, and the derailleur is correctly aligned. Ensure the quick-release lever or axle nuts are tightened securely but not excessively.
Step 9: Test And Adjust Shifting
After cleaning the cassette, test the gear shifting by trying all gears on both the front and back derailleurs. You may need to adjust or maintain the bike if you experience problems like skipping gears or slow shifting. You can get help from a bike mechanic or bike maintenance resources to fine-tune the shifting system.
Additional Tips On How To Clean Bike Cassette
- While cleaning the cassette, it may be beneficial also to clean the chainrings and derailleur pulleys. This ensures thorough maintenance of the entire drivetrain system.
- To clean a dirty cassette, you might need to take it off the wheel. You’ll need a tool called a cassette lockring tool and another tool called a chain whip to do this. These tools will let you remove the cassette from the freehub body.
- Ensure you properly get rid of any cleaning solvents or degreasers you use. Don’t pour them down drains or into the environment. Look up how to dispose of them correctly according to local regulations, or try using eco-friendly options.
- Check the cassette often for wear and tear, like worn teeth, or if it’s not shifting well. If it’s very dull, you may need to replace it.
Is It Safe To Clean My Bike Cassette With A Pressure Washer?
It is not advisable to use a pressure washer for cleaning the cassette. The high-pressure water can force water and contaminants deeper into the moving parts of the drivetrain, potentially causing damage. Sticking to a moderate water flow or hose and using a brush for cleaning is best.
Final Words
Cleaning the bike cassette is an important part of bike care. It ensures the drivetrain part works at its best and lasts longer. Following the step-by-step instructions in this detailed guide, cyclists can successfully clean the cassette of dirt, grime, and grease.
This makes shifting gears easier and improves the ride as a whole. Cleaning the cassette as part of your regular bike maintenance will help keep the drivetrain working well and extend the life of your bike’s components.

