
Handlebar grips are attached to the handlebars of bicycles, motorbikes, scooters, and other similar vehicles. They are also called handlebar tape or handlebar sleeves. They give the rider a comfortable and secure place to hold on while steering the car.
Most handlebar grips are made of foam, rubber, or a mix of the two. They are made to dampen shocks, improve grip, and make long rides less tiring. The grips are put on by sliding them over the wheels. They are usually stuck down or locked in place to keep them from moving.
If you want to know how to install handlebar grips securely and comfortably, just read my article.
Grip Materials
The material used for handlebar grips can greatly affect a cyclist’s comfort and control while riding. Here are some common grip materials and how they impact the rider’s experience:
Rubber: Rubber grips are popular because they last a long time, are cheap, and give a good hold even when wet. They absorb shock well and can be used by many bicycles, such as mountain bikers, commuters, and people who ride for fun.
Foam: Foam grips are light, soft and do a great job of reducing vibrations. They feel soft and comfy, making them suitable for longer rides or riders who like a softer grip. Touring cyclists, riders who go for long distances, and people who want more relaxation often use foam grips.
Silicone: Silicone grips have become more common in the past few years. They are sticky and easy to hold on to, even when wet or dirty. Silicone grips are also good at absorbing shock and can last longer than rubber grips. They are suitable for mountain bikes, trail riders, and riders who often go through rough terrain.
Synthetic Compounds: Grip materials made of synthetic compounds, like thermoplastic elastomers (TPE), are durable, easy to hold, and comfortable. You can make these materials with different designs or textures easier to maintain and control. Synthetic compound grips can be used for many different riding types and conditions.
Things To Consider Before Installing
There are a few things to think about before putting on bike grips to make sure they fit right and are comfortable. Here are some things to think about:
Grip Material: Decide what kind of material you want your grips to be made of. Rubber, foam, silicone, or synthetic materials are all common choices. Each material has different amounts of grip, comfort, durability, and shock absorption, so choose one that fits your needs and riding style.
Size: Different grips come in different sizes to fit different hand shapes. For ease and control, it’s important to get the right size. To make sure the grip fits right, measure the diameter of the inside of your handlebars and compare it to the diameter of the inside of the grip.
Grip Design: Think about how the grips look and feel. Some grips have patterns, shapes, or high areas that make them easier to hold on to and keep them from slipping, especially when the weather is wet. Choose a style that fits your hands well and makes you feel safe.
Ergonomics: Ergonomic grips are made to give your hands, wrists, and elbows more support and less strain. They are often made in a way that fits the shape of your hand and reduces tiredness. If you have problems with your wrists or hands, adjustable grips might help.
Compatibility with Bar Ends: If your bike has bar ends, make sure the grips you choose will work with them. Some grips have integrated bar-end plugs or openings to accept bar ends.
Gather These Tools
To begin the process, make sure you have gathered these necessary tools.
New handlebar grips: These are the new grips for your wheels. Different grips come in different sizes, shapes, and materials, so choose the ones that fit your arms best and give you the comfort and grip you want.
Flathead screwdriver: If there are any old grips on the handlebars, you can take them off with a flathead screwdriver. It can also help you put the new grips on.
Isopropyl alcohol or soapy water: The handles need to be cleaned well before the new grips are put on. You can clean the handlebars of any dirt, grease, or other waste with isopropyl alcohol or soapy water. This makes sure that the new grips will stick to a clean surface.
Compressed air or a towel: After cleaning the handlebars, you’ll want to dry them fully with compressed air or a towel. You can blow off any leftover moisture with compressed air or use a towel to dry them.
Spray adhesive (optional): A spray adhesive can be used between the arms and the grips to make them more secure and give you a better grip. It helps keep the grips in place and keeps them from turning or moving while they are being used. This step is optional because some grips already have glue on them or are made to fit tightly without any extra glue.
Grip glue (optional): Another way to make a strong bond between the wheels and the grips is to use grip glue. It is a special kind of glue that was made for bike grips. Grip glue is especially helpful when putting on grips that don’t come with their own glue or when a stronger bond is needed.
How To Install Handlebar Grips
Step 1: Get rid of old grips, if any
If you are changing old grips, take them off first. Most grips can be taken off of handlebars by simply sliding them off. Use a flathead screwdriver to slowly pry off the grips if they are stuck or don’t want to come off. Make sure you don’t hurt the wheels or any other parts as you do this.
Step 2: Clean the Handlebars
Before putting on new grips, make sure the handlebars are clean and free of any dirt, grease, or dust. To clean the handlebars well, use isopropyl alcohol or a combination of mild soapy water. Use a towel to dry them or compressed air to get rid of any water.
Step 3: Get the new grips ready
Check the new grips for any directions or markings that show the right way to hold them. Some grips may be made so that one side goes on the left handlebar and the other side goes on the right.
Pay attention to any guides or patterns on the grips that help you line up the gun. You can put a spray adhesive or grip glue on the inside of the grips if they feel slippery or if you want more protection.
Step 4: Put the Grips in place
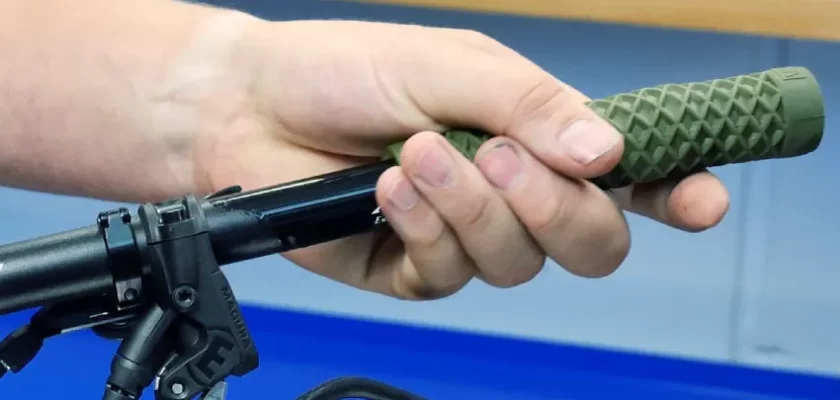
Start by making sure the grips are in the right place on the wheels. Most grips have a flange on one end that keeps your hands from falling off the bars. If you want, you can line up the lip with the end of the handlebars or move it a little bit inward.
Step 5: Put on the Grips
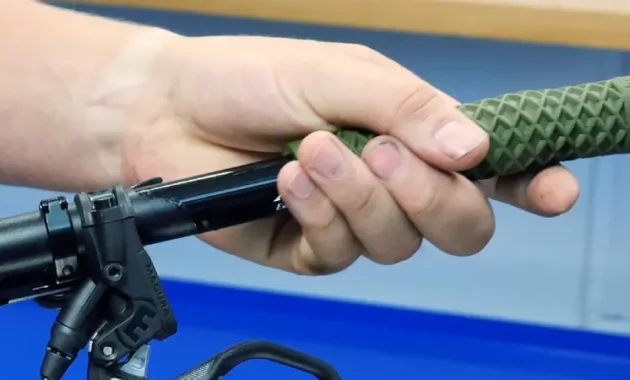
Start by holding the grip by its open end and making sure it is lined up with the handlebar. Put steady pressure on the grip and slowly push it onto the handlebar, making sure it slides easily and evenly.
Use grip glue on the handlebars before sliding on the grips for a better fit or more security. Don’t use too much force to keep from breaking the grips or wheels.
Step 6: Adjust and set the grips
Once the grips are in place, make any changes you need to make sure they are straight and comfy. Align the grips on both sides so that they are the same distance from the ground and don’t lean up or down.
Depending on what you want to do, you may need to slightly twist the grips. Let the grips rest in place for a few minutes to make sure they fit well.
Step 7: Test and finish
Once the grips are in place, take a moment to make sure they are comfortable and in the right place. Hold the handlebars tightly and try out different hand positions. If you need to, make any other adjustments. Make sure the grips don’t move or turn when you use them.
Final Words
Installing handlebar grips on a bike is easy and makes riding much more comfortable and easy to control. By following the step-by-step guide, it’s easy to change or add new grips. This will make sure that they fit securely and that you have a good time cycling.
Before you finish the installation, don’t forget to clean the handlebars, put the grips in the right place, and make any other changes that are needed. Now that your bike grips are in place, you can hit the road or trail with confidence and comfort.
Have fun riding!