
Are you tired of struggling with a worn-out grip shift cable on your bicycle? Well, fret no more! In this article, we will guide you through the step-by-step process of replacing a grip shift cable, allowing you to enjoy smooth and effortless gear shifting once again.
Replacing a grip shift cable may seem like a daunting task, but rest assured, it’s easier than you might think.
Whether you’re a seasoned cyclist or a beginner, our comprehensive guide will walk you through all the necessary steps with clear instructions and helpful tips. So, let’s dive right in and learn how to replace a grip shift cable and get your bike running smoothly in no time!
Easy Steps: Replace A Grip Shift Cable
Grip shifters are a common type of gear shifting system found on bicycles. Over time, the cables in these shifters can wear down and become less effective, resulting in poor shifting performance. If you’re experiencing issues with your grip shift cable, replacing it can help restore smooth and accurate shifting.
Gather the Necessary Tools and Materials
Before you begin replacing the grip shift cable, make sure you have the following tools and materials handy:
- A new grip shift cable specific to your bike’s make and model
- Allen wrenches or screwdrivers, depending on the type of shifter
- Cable cutters or sharp scissors
- Pliers or a cable puller
- Lubricating oil or grease
Ensuring you have these supplies before you start will save you time and frustration during the cable replacement process.
Remove the Old Cable
The first step in replacing a grip shift cable is to remove the old cable from your bike. Follow these steps to do so:
- Shift the bike to its highest gear position. This will relieve tension on the cable.
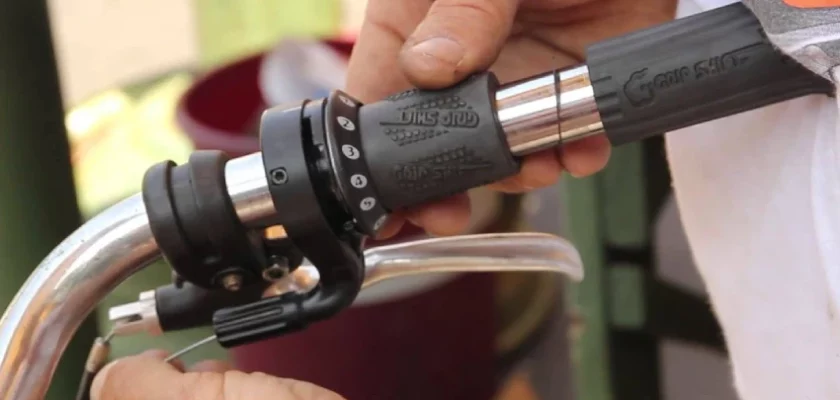
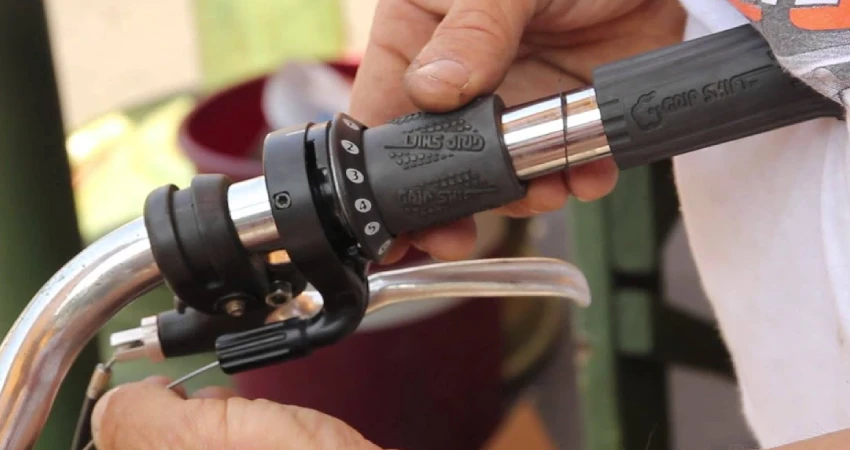
- Locate the shifter on your handlebars. Grip shifters can have different designs, but they often have a cover or cap that you can remove to access the cable.
- Use an Allen wrench or screwdriver to remove the cover or cap, exposing the cable and the anchor bolt.
- Loosen the anchor bolt using the appropriate tool. This will release the cable from the shifter.
- Once the cable is free from the shifter, locate the other end at the derailleur. If your bike has a rear derailleur, the cable will be connected near it.
- Loosen the bolt that secures the cable to the derailleur, and remove the old cable completely.
Install the New Cable
With the old cable removed, it’s time to install the new grip shift cable. Follow these steps to ensure a proper installation:
- Identify the correct end of the cable. Grip shift cables typically have a different end for the shifter and the derailleur. Be sure to match the appropriate end to each component.
- Insert the cable end into the shifter. Make sure it goes in smoothly and securely. Use the anchor bolt to hold the cable in place, but don’t tighten it too much just yet.
- Route the cable through the cable housing, following the same path as the old cable. Check for any signs of fraying or damage on the housing, and replace it if necessary.
- Thread the cable through the derailleur and attach it using the securing bolt. Again, be careful not to overtighten.
- Check the tension of the cable by shifting through the gears. If necessary, adjust the barrel adjuster on the shifter or derailleur to fine-tune the tension.
Adjust and Test the Shifting
Once the new grip shift cable is installed, it’s crucial to adjust and test the shifting performance. Follow these steps to ensure your gears are shifting smoothly and accurately:
- Shift through all the gears to confirm that the cable is properly seated and the shifting is functioning correctly.
- Use the barrel adjuster to fine-tune the shifting if necessary. Turn it clockwise to tighten the cable tension for easier upshifts, and counterclockwise to loosen it for easier downshifts.
- Check if the shifters feel comfortable in your hand. If they are loose or too tight, identify the adjustment screws on your shifter and make any necessary adjustments.
- Finally, apply lubricating oil or grease to the cable to ensure smooth operation. Simply apply a drop of lubricant at each point where the cable enters or exits the housing.
Troubleshooting Common Issues
Even with careful installation, issues may still arise. Here are some common grip shift cable problems and their solutions:
- Slipping Gears: If your gears are slipping, it may indicate that the cable tension is too loose. Adjust the tension by turning the barrel adjuster clockwise in small increments until the slipping is eliminated.
- Stiff Shifting: Stiff shifting can result from excessive cable tension or a dirty cable. Try loosening the tension by turning the barrel adjuster counterclockwise slightly. If the issue persists, clean and lubricate the cable and housing.
- Difficulty Shifting to Lower Gears: If shifting to lower gears is challenging, it could mean that the cable tension is too tight. Rotate the barrel adjuster counterclockwise in small increments until the shifting becomes smoother.
By following these steps and troubleshooting tips, you’ll be able to replace a grip shift cable on your bike and enjoy smooth shifting once again. Remember to take your time and be patient during the process, ensuring each step is performed correctly.
Frequently Asked Questions
1. How do I know if I need to replace my grip shift cable?
Inspect the cable for fraying, corrosion, or if it’s not smoothly shifting gears. If any of these issues are present, it’s time for a replacement.
2. What tools do I need to replace a grip shift cable?
You’ll need a 5mm Allen wrench, cable cutters, a new grip shift cable, and a pair of pliers.
3. How do I remove the old grip shift cable?
Simply loosen the cable clamp bolt with the 5mm Allen wrench, release the tension by shifting to the smallest chainring, and carefully slide the cable out.
4. How do I install the new grip shift cable?
Thread the new cable through the shifter, attach it to the derailleur, and secure it with the cable clamp bolt.
5. How do I adjust the tension of the new grip shift cable?
Shift to the largest chainring, pull the cable taut with pliers, and secure it by tightening the cable clamp bolt. Test the shifting to ensure smooth transitions.
Final Thoughts
In conclusion, replacing a grip shift cable is a relatively simple process that can greatly improve the performance of your bike. By following the steps outlined in this article, you can ensure a smooth and efficient shifting experience.
Start by gathering the necessary tools and materials, then carefully remove the old cable and install the new one. Remember to adjust the tension and test the shifting before your next ride.
By mastering this skill, you can save time and money by performing this maintenance task yourself. So, don’t hesitate to give it a try and learn how to replace a grip shift cable for a seamless cycling experience.