
So you’ve just purchased a freecoaster hub and you’re wondering, “How on earth do I install this thing?” Well, fear not! In this article, we’ll walk you through the step-by-step process of installing a freecoaster hub. Whether you’re a seasoned bike enthusiast or new to the world of BMX, we’ve got you covered.
Installing a freecoaster hub may seem like a daunting task, but with the right guidance, it can be a breeze. We’ll provide you with all the necessary information and tips to ensure a successful installation.
From properly removing the old hub to adjusting the slack in the chain, we’ll cover everything you need to know. So let’s get started and dive into the world of freecoaster hub installation!
‘Installing A Freecoaster Hub: Step-By-Step Guide
Installing a freecoaster hub can be a game-changer for BMX riders. This unique hub allows riders to freely coast backward without the need for pedaling, providing a whole new range of tricks and maneuvers.
Gather the Necessary Tools and Components
Before starting the installation process, make sure you have all the necessary tools and components. Here’s a list of what you’ll need:
- Freecoaster hub
- Rear wheel (with a compatible rim)
- Spokes and nipples (if not provided with the hub)
- Spoke wrench
- Cone wrenches (vary depending on the hub brand)
- Allen wrenches (various sizes)
- Grease
- Lubricant (chain lubricant or multipurpose oil)
- Cassette removal tool
- Chain whip
- Adjustable wrench
Removing the Old Rear Wheel
The first step is to remove your bike’s old rear wheel. This process may vary depending on your bike’s setup, but generally, it involves the following steps:
- Shift the chain onto the smallest rear cog to release tension.
- Loosen the nuts or quick-release lever on the rear axle with an adjustable wrench or Allen wrench.
- Pull the derailleur backward to create enough slack in the chain.
- Lift the bike to remove the rear wheel.
Disassembling the Old Hub
Once the old wheel is removed, it’s time to disassemble the old hub to retrieve the spokes and rim if you plan to reuse them. Follow these steps:
- Place the wheel on a work surface with the hub facing upward.
- Remove the cassette by inserting the cassette removal tool into the cassette lockring. Turn counterclockwise to unscrew the lockring.
- Unscrew the cone nuts on both sides of the hub using the appropriate cone wrenches.
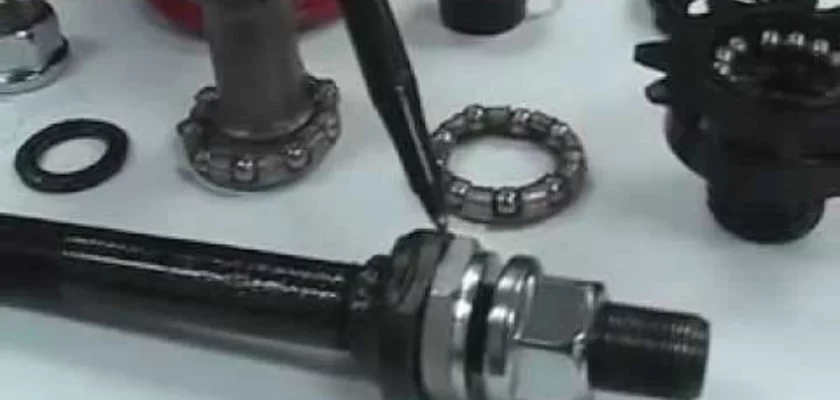
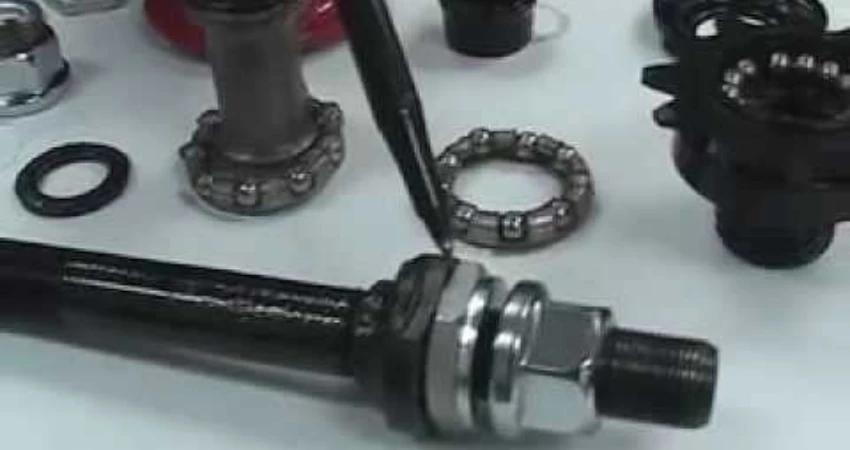
- Carefully slide the axle out of the hub, taking note of how the bearings are positioned.
Prepping the Freecoaster Hub
Now that the old hub is disassembled, let’s prepare the freecoaster hub for installation:
- Apply a thin layer of grease to the inside of the hub shell where the bearings will sit.
- Insert the bearings into the hub shell, ensuring they are seated properly.
- Slide the axle through the hub shell, aligning it with the bearing races.
- Screw on the cone nuts by hand, ensuring they are snug against the bearings but not too tight.
Installing the Freecoaster Hub
With the freecoaster hub prepared, it’s time to install it into the frame:
- Slide the freecoaster hub into the dropouts of the frame, aligning it with the chainstay.
- Tighten the axle nuts or quick-release lever to secure the hub in place. Make sure the wheel is centered in the frame.
- Use an adjustable wrench or Allen wrench to tighten the nuts while holding the opposite side of the axle with a cone wrench.
- Test the hub by spinning it to ensure it rotates smoothly and without any wobbling.
Tensioning and Truing the Wheel
After installing the freecoaster hub, you’ll need to tension and true the wheel for optimal performance:
- Insert the spokes into the hub flanges, following the specific lacing pattern for your hub and rim.
- Using a spoke wrench, turn each nipple to tighten the spokes. Begin with a loose tension and gradually increase it, making sure the tension is even across all spokes.
- Check the wheel for trueness by spinning it and observing any wobbling. If there are any significant deviations, adjust the tension on the affected spokes accordingly.
- Continue to true and tension the wheel until it spins perfectly straight without any noticeable wobbling.
Reinstalling the Cassette and Chain
After ensuring the wheel is properly tensioned and trued, you can proceed to reinstall the cassette and chain:
- Apply a small amount of lubricant to the cassette threads.
- Screw the cassette onto the freecoaster hub, making sure it is tightened securely with a chain whip and cassette removal tool.
- Set the chain onto the smallest rear cog and thread it through the derailleur.
- Connect the chain and ensure it is properly tensioned for smooth operation.
Final Checks and Adjustments
Before hitting the streets with your newly installed freecoaster hub, perform these final checks and adjustments:
- Double-check the hub’s cone nuts to ensure they are tightened properly.
- Test the chain tension by backpedaling. Make sure there is enough slack to engage the freecoaster hub but not too loose to risk the chain falling off.
- Apply lubricant to the chain and ensure it is properly lubricated.
- Confirm that the hub engages and disengages smoothly by backpedaling and pedaling forward.
Remember, installing a freecoaster hub requires precision and attention to detail. If you feel uncertain or lack the necessary tools, don’t hesitate to seek assistance from a professional bike mechanic.
Once everything is set up correctly, get out there and enjoy the thrilling experience of riding a freecoaster hub-equipped BMX bike!
Frequently Asked Questions
1: What tools do I need to install a freecoaster hub?
To install a freecoaster hub, you will need a 17mm or 19mm wrench for the axle nuts, a 17mm or 14mm socket for the driver, and an Allen key or socket wrench for the bolts on the hub guard.
2: How do I remove the old hub and install a freecoaster hub?
To remove the old hub, first remove the axle nuts and washers. Slide off the chain and remove the cog or driver. Install the freecoaster hub by sliding it onto the spokes and aligning the driver with the chain and cog. Secure the hub with the axle nuts and tighten them.
3: How do I adjust the slack on a freecoaster hub?
To adjust the slack on a freecoaster hub, remove the driver and adjust the slack mechanism using the provided slack adjuster. Make sure to test ride and fine-tune the slack until it feels comfortable to your preference.
4: How do I properly tension the spokes on a freecoaster hub?
To properly tension the spokes on a freecoaster hub, use a spoke wrench to turn the nipples clockwise to tighten or counter-clockwise to loosen. Ensure that the spokes are evenly tensioned and true the wheel to prevent any wobbling or unevenness.
5: Do I need any special maintenance for a freecoaster hub?
Yes, regular maintenance is essential for a freecoaster hub. Clean the hub and its components regularly, lubricate the driver, and inspect for any damaged parts. Additionally, check the slack adjustment regularly and make any necessary adjustments to ensure optimal performance.
Final Thoughts
Installing a freecoaster hub can seem like a daunting task at first, but with the right guidance, it becomes much more approachable. By following the steps outlined in this article, you can successfully install a freecoaster hub on your bike and experience the benefits it brings to your riding.
Firstly, gather all the necessary tools and components, ensuring that everything is in proper working condition. Then, carefully remove the old hub, keeping track of each part as you go.
Next, assemble the freecoaster hub according to the manufacturer’s instructions, making sure to align everything correctly. Finally, reattach the hub to your bike, making any necessary adjustments to ensure smooth operation.
By following these guidelines, you can confidently learn how to install a freecoaster hub on your bike, allowing you to advance your riding skills and explore new tricks and techniques.
Don’t be intimidated by the process; take your time, reference any additional resources available, and soon you’ll be enjoying the advantages of a freecoaster hub in your riding endeavors.